- Created : 30/05/2023
- Updated : 11/03/2025
- Support Email : support@pixelnx.com
Introduction
Pixaguru - Image or Graphics Creator tool for Social Media, Advertisement, Presentation, Website
Pixaguru - Image or Graphics Creator tool for Social Media, Advertisement, Presentation, Website is a user-friendly image editor tool developed using CodeIgniter technology. The tool is packed with over 1700+ ads, graphic banners, thumbnail images, and many more. It has really simple editing features that will make your work much more pleasant!
You can access a vast library of pre-created templates and editing tools to help you fine-tune the templates. The editor is integrated with various customization options, like adding text, shapes, or images to the templates or changing the background colour of the templates.
Several filter options provide you with the flexibility to create posts, banner images, and covers for social media platforms like Facebook, Instagram, Pinterest, Twitter, and many more. It has a wide collection of ad templates and website banners. It offers a variety of typography options to customise text, including font style, colour, and font size. Thus allowing you to create engaging content for the banners, ads, and posts.
Additionally, we've incorporated the Clipping Magic API for background image removal. To utilize this feature, users must create an account and subscribe to a plan for API access.
Note : The free API can remove the background image, but it will display a watermark of API provider. To remove the watermark, users will need to upgrade to a premium plan.
The editor comes with the admin dashboard contains various settings to manage and regulate the functionalities. Admin can add users, and they can access the tool based on the plan they subscribe to. The Stripe and PayPal payment gateway is also integrated with the tool. The script is compatible with multiple languages including English, Arabic, French, and Spanish.
Ignite your creativity and redefine the art of image editing with Pixaguru.
Demo Login Details
Admin Login Details
- URL https://app.pixaguru.com/
- Email admin@app.pixaguru.com
- Password pixaguru@12345#
User Login Details
- URL https://app.pixaguru.com/
- Email user@app.pixaguru.com
- Password user@123#
Script Created Date:
Script Updated Date:
Please check Live Preview:
Creative Author Portfolio:
Features
There are more than enough features squeezed in this script like
Features of the plugin
- Pre Built Templates
- Create posts for various social media platform like facebook, twitter, instgram, and many more
- Stripe and PayPal,Razorpay, Paystack Payment option
- Rest API included
- Background Remover through API
- Multiple Language (English, Arabic, French, Spanish)
- Option to add Header or Footer script
- Easy Template Importer option
- SMTP Setting
- Coupon System
- Create attractive ads and banners
- Variety Of Typography Options
- Added Dark Mode
- Create Custom size Ads & Images Option
- Device Friendly/Responsive
- Multiple Shapes option
- Image Library
- AI Text Generator
- Image Crop Option In Any Size & Ratio
- Customizable Background Options
- User Friendly
- Lightweight

Installation
To install the Pixaguru script on your server, please follow the steps mentioned below
Script Installation
Steps of Installation
Step 1 Extract the zip file you received from Codecanyon. You will get these folders.
- Pixaguru
- Database
- Documentation
Step 2 Pixaguru folder contains all files which you will have to place in the root folder or the folder where you want to install this.
Step 3 Create database and database user on your server.
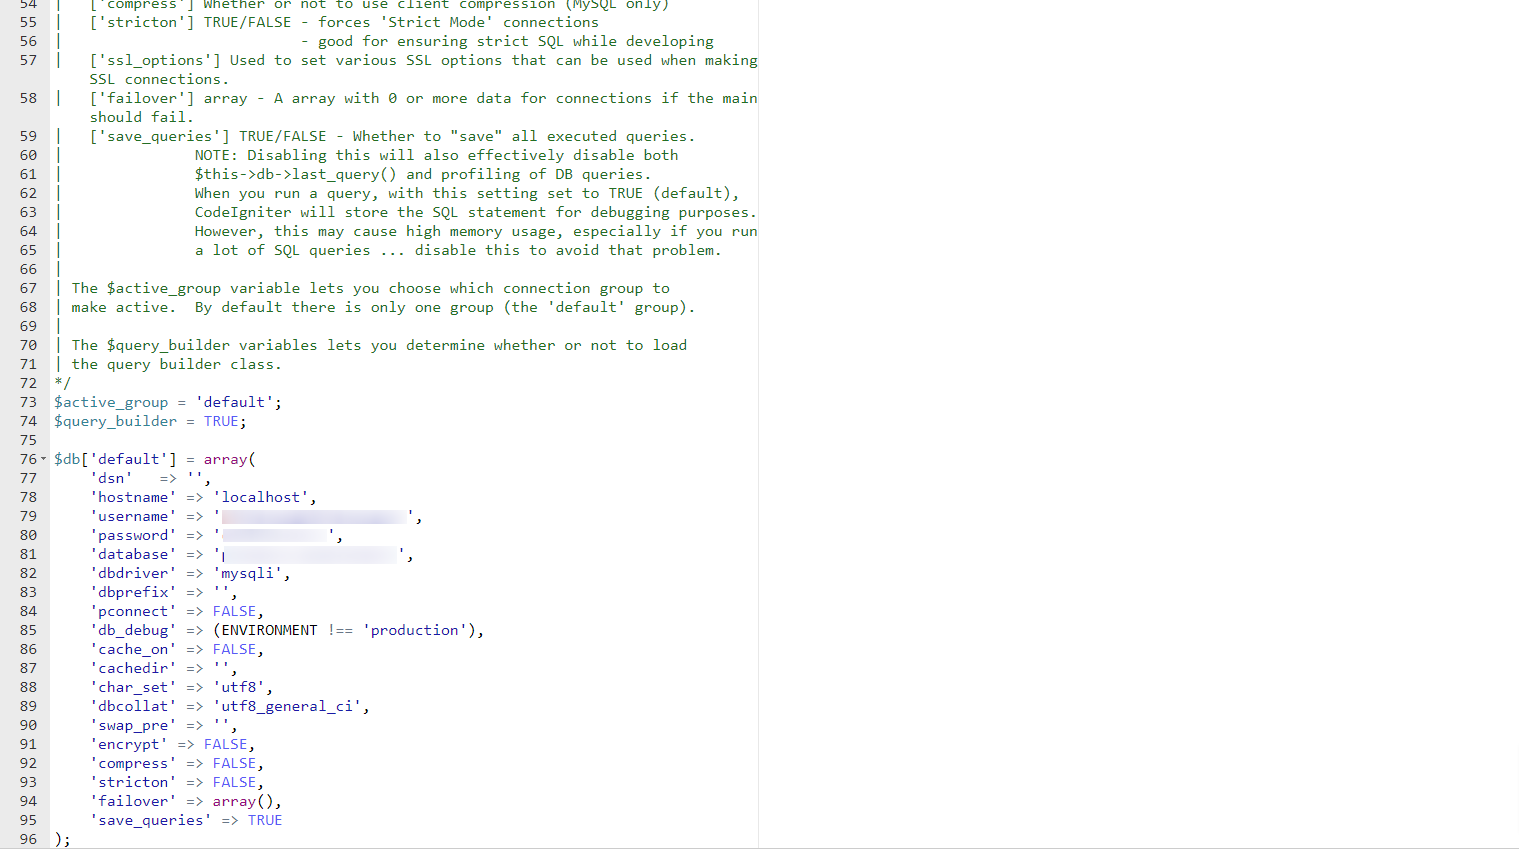
Step 4 Navigate to Application >> Config >> database.php file. In this file, enter the database name, database user name and password.
Step 5 Navigate to Database folder. In this file, you will find "pixaguru.sql" file. Import this file in the created database.
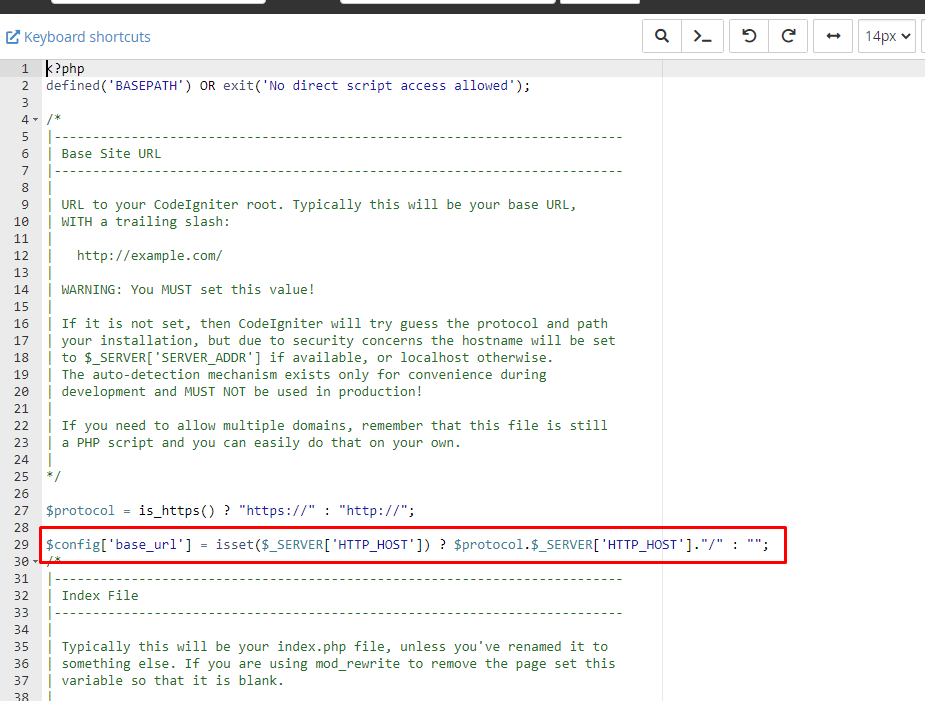
Step 6 Follow this step if you have setup the script on the local system inside any directory. Navigate to Application >> Config >> config.php file and enter the directory name after slash symbol (/)
Step 7 Subsequently, enter the domain name/folder-name into the address bar of your web browser in the following format: http://domain-name.com/folder-name to get the login screen.
If you have installed the script on localhost, enter the URL "http://localhost/folder-name" to access the login screen.
Step 8 Then login using the following credentials and you will be redirected to admin dashboard.
- Email : admin@app.pixaguru.com
- Password : pixaguru@12345#
How to update Script
How to update script to V1.10.1
Note : It is recommended to take a backup before updating the script. Please avoid updating the product directly if there are any customizations applied to your product. Updating the product may overwrite your custom changes and cause them to be lost.
1) Replace following file in your setup.
- Assets/css/style.css
- Assets/js/admin.js
How to update script to V1.10
Note : It is recommended to take a backup before updating the script. Please avoid updating the product directly if there are any customizations applied to your product. Updating the product may overwrite your custom changes and cause them to be lost.
Here is the List of files which you need to change for updating the product: Download from here
How to update script to V1.9.0
Note : It is recommended to take a backup before updating the script.
1 ) Replace following folders in your setup.
Note : Before updating the Application and Assets folder please take a backup of database.php files on this path application/config/database.php
- Assets
- application
After replacing the Application folder, please put the old database.php file on this location application/config/database.php
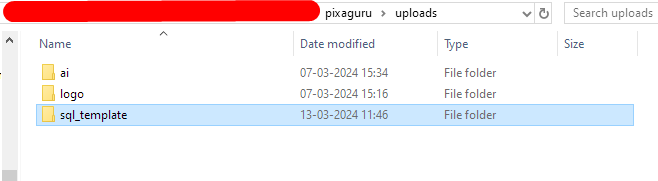
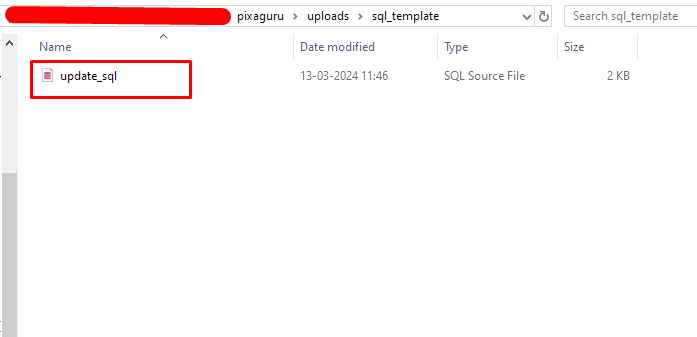
2) Add sql_template folder inside the uploads folder. You will get update_sql file inside this folder and for updating the SQL file go to Template Importer option inside the Admin panel.
How to update script to V1.8.2
Note : It is recommended to take a backup before updating the script
1 ) Replace following file in your setup.
- Assets/css/style.css
How to update script to V1.8.1
Note : It is recommended to take a backup before updating the script
1 ) Replace following file in your setup.
- application/controllers/Stripes.php
How to update script to V1.8
Note : It is recommended to take a backup before updating the script
1 ) Replace following files in your setup.
- Assets/css/style.css
- application/controllers/theme_setting.php
- application/config/routes.php
- application/config/constants.php
- application/helpers/basic_helper.php
2) Add the folders named Payment gateway and Email templates on this path Application/Views
3) Add the files named Stripes and paypal on this path Application/Controllers
4) Add the file name smpt_settings on this path Application/Views
5) Add the file name paypal on this path Application/Config
6) Add the file name paypal_lib on this path Application/Libraries
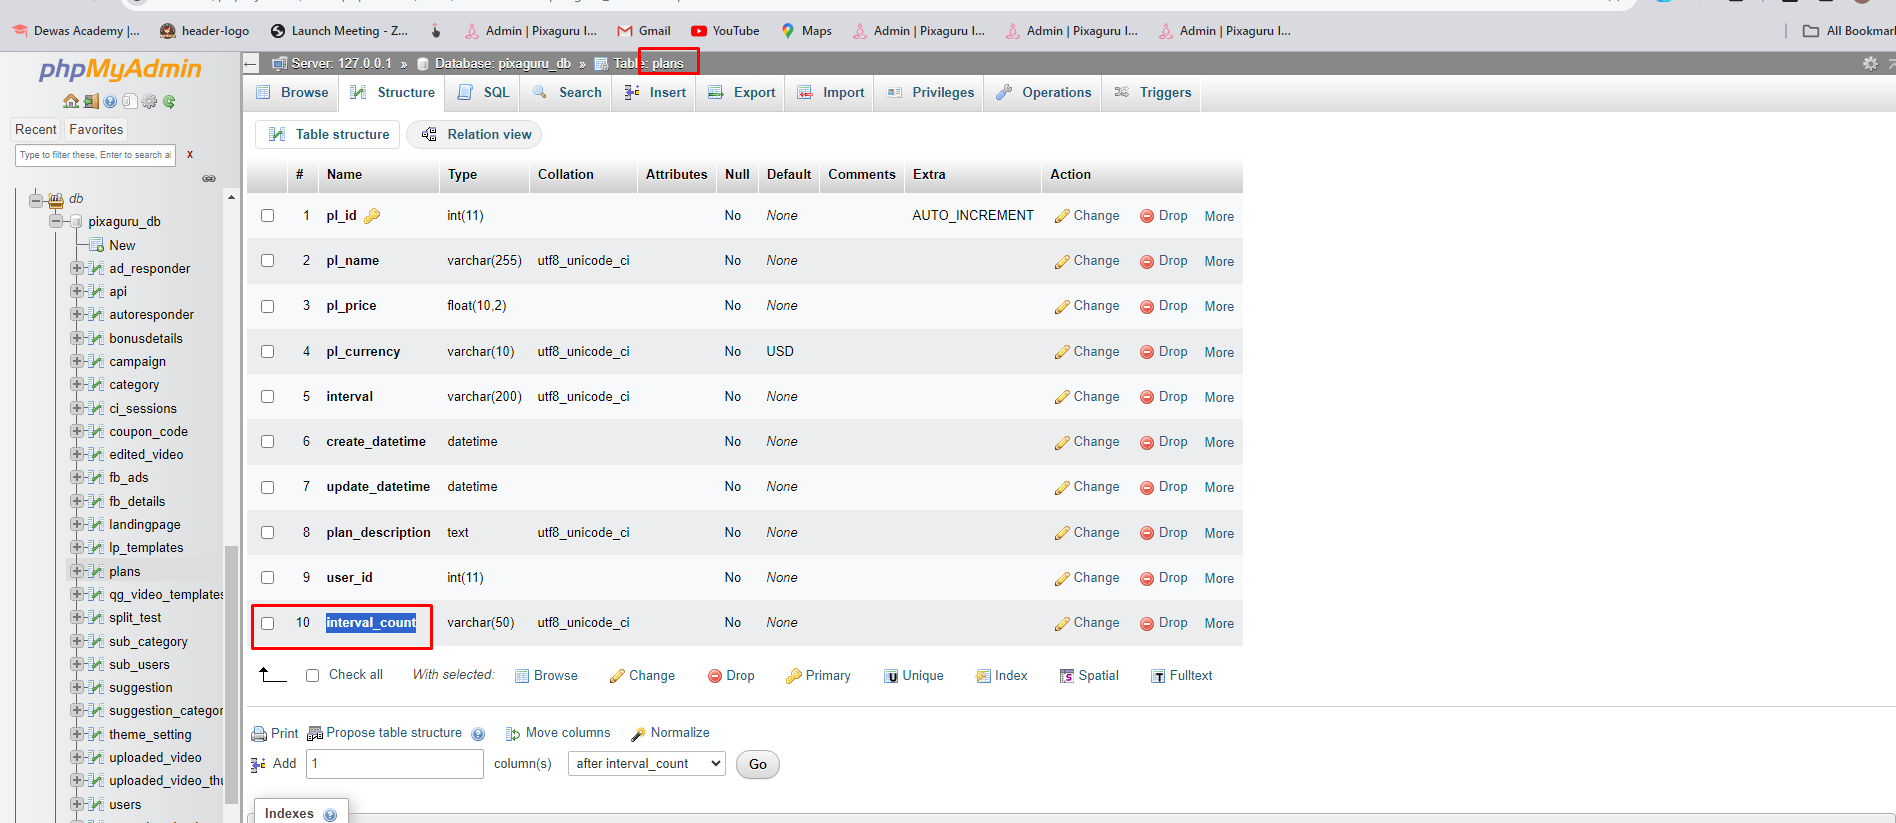
7) Add the column named interval_count in the plans table of the database.
How to update script to V1.7
Note : It is recommended to take a backup before updating the script
1 ) Replace following files in your setup.
- Application/controllers/Images_loads_ajax.php
- Application/views/editor.php
- Assets/js/admin.js
- Assets/js/canvas-custom.js
- Assets/js/editor-custom.js
- Assets/css/style.css
2) Also add the folders named ai, logo, and youtube under the uploades folder
How to update script to V1.6
Note : It is recommended to take a backup before updating the script
1 ) Replace following files in your setup.
- Application/views/editor.php
- Application/views/templates.php
- Application/views/admin/templates.php
- Assets/js/main.js
- Assets/js/canvas-custom.js
How to update script to V1.5
Note : It is recommended to take a backup before updating the script
1 ) Replace following files in your setup.
- Application/views/subscription_plan.php
- Application/controllers/Authentication.php
- Application/controllers/Editor.php
- Application/controllers/Admin.php
How to update script to V1.4
Note : It is recommended to take a backup before updating the script
1 ) Replace following folders in your setup.
- Application
- Assets
2 ) Import the theme_setting.sql table file into the database. To download the sql file Click Here
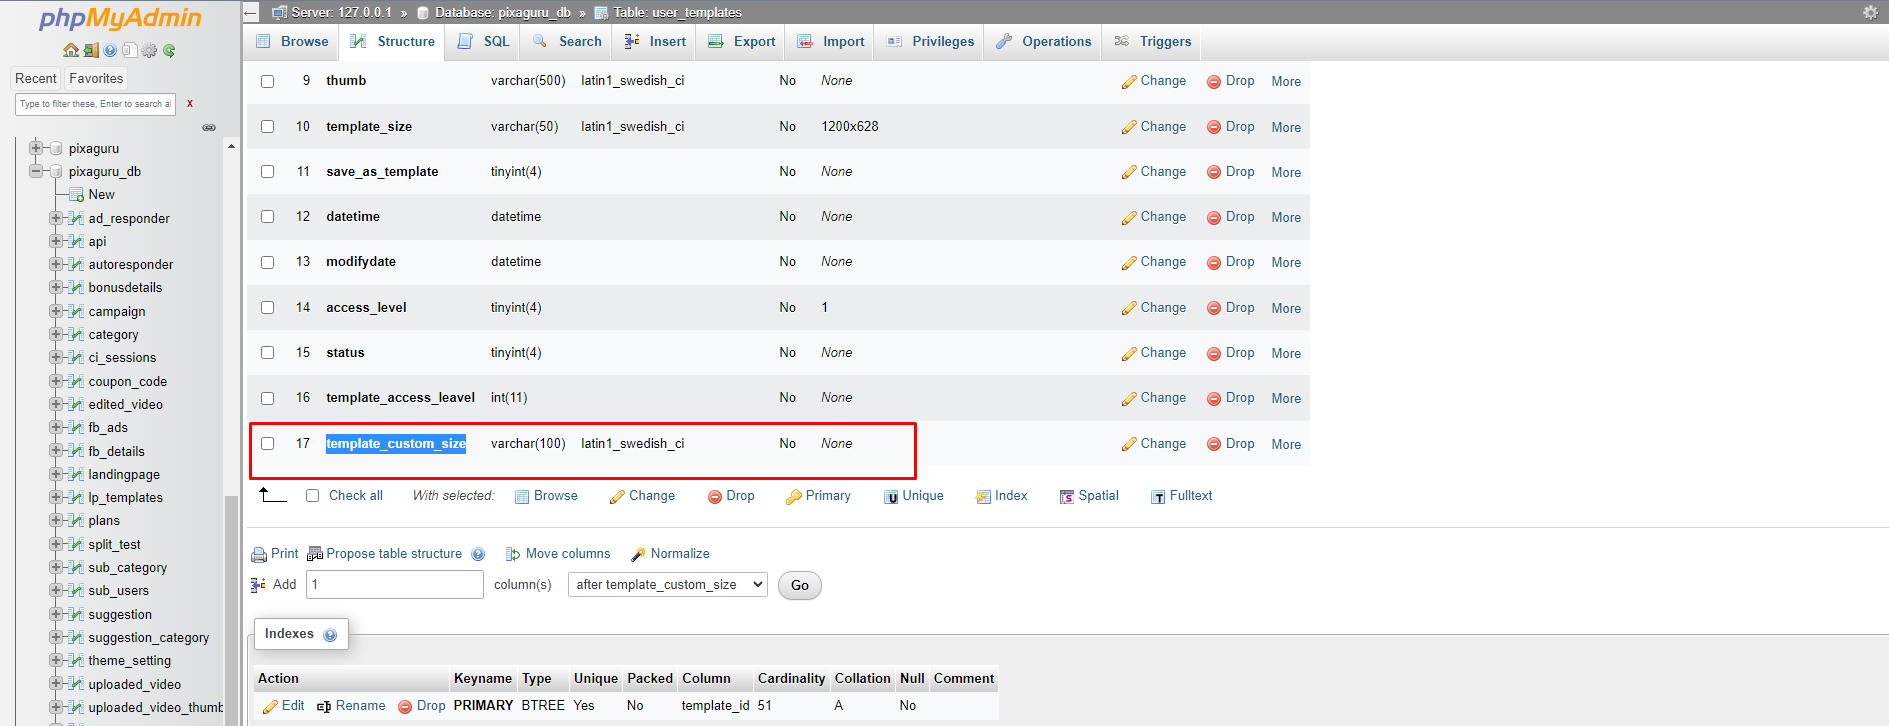
3 ) Insert the column named template_custom_size in the user_templates table. For the structure of the column please check the screenshot below.
Admin Dashboard
Admin Dashboard comes with the various backend settings to manage the operation and functionality of the script.
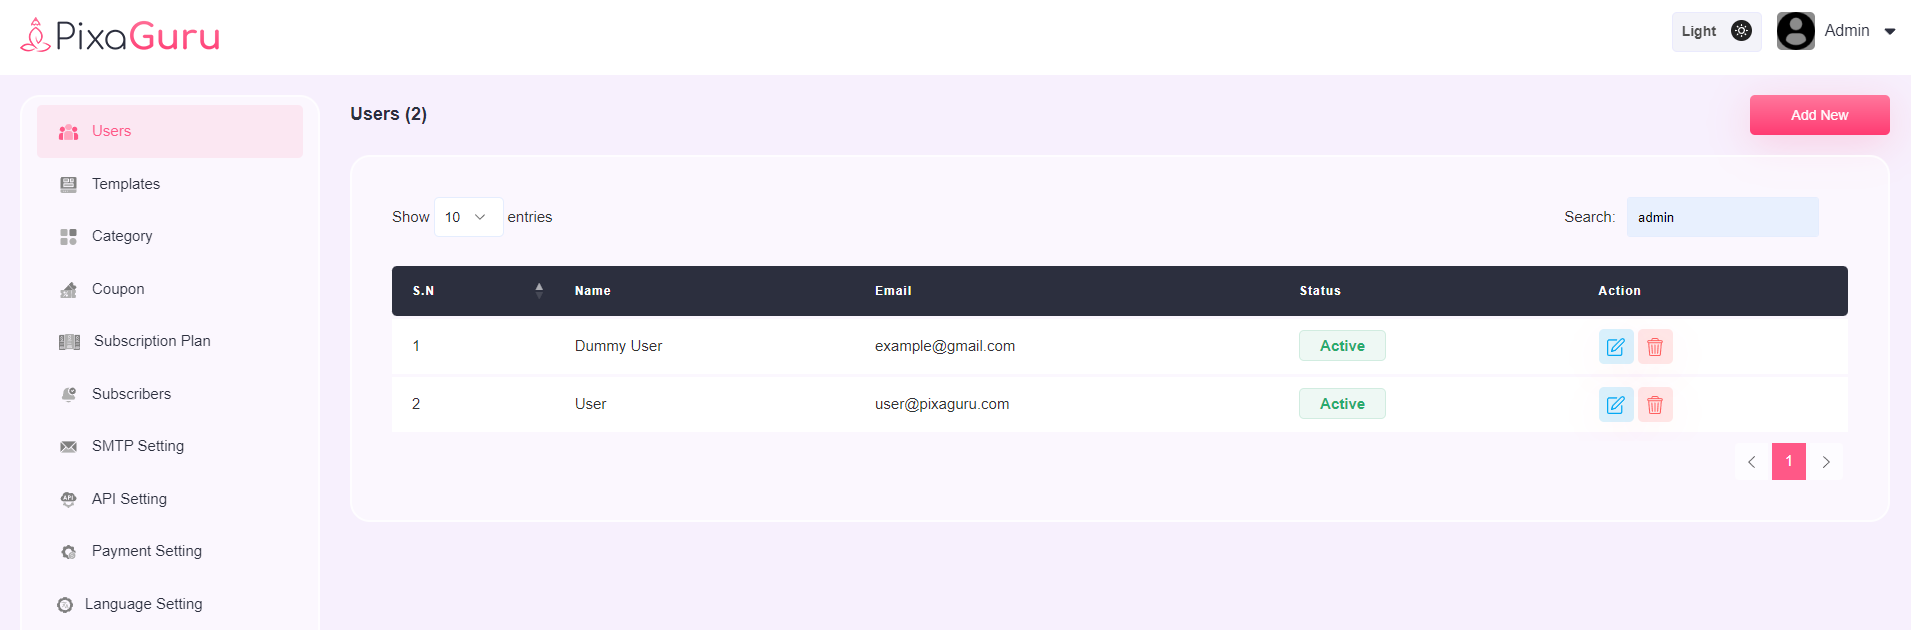
Users
Users setting allows you to add new users and edit/delete the existing users.
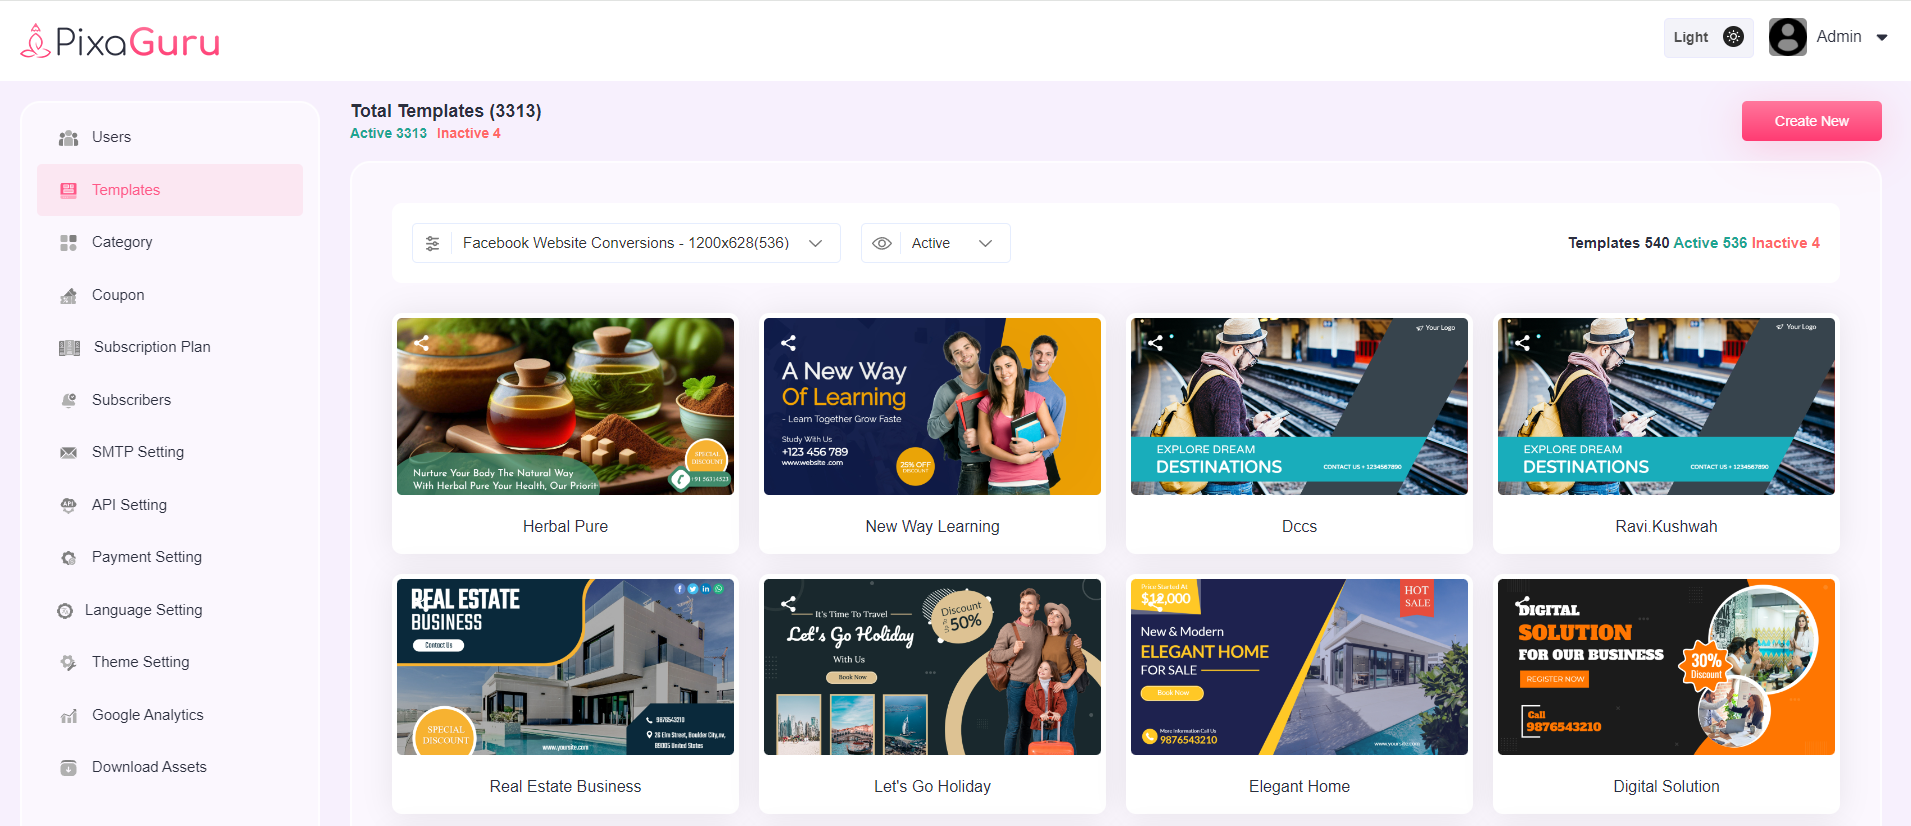
Templates
Using templates setting, you can create new templates, edit, delete, rename or copy existing template. You can also filter the templates as Facebook Post, Instragram post, and many more.
How to create new template
1. Click on Create New Button and enter the details
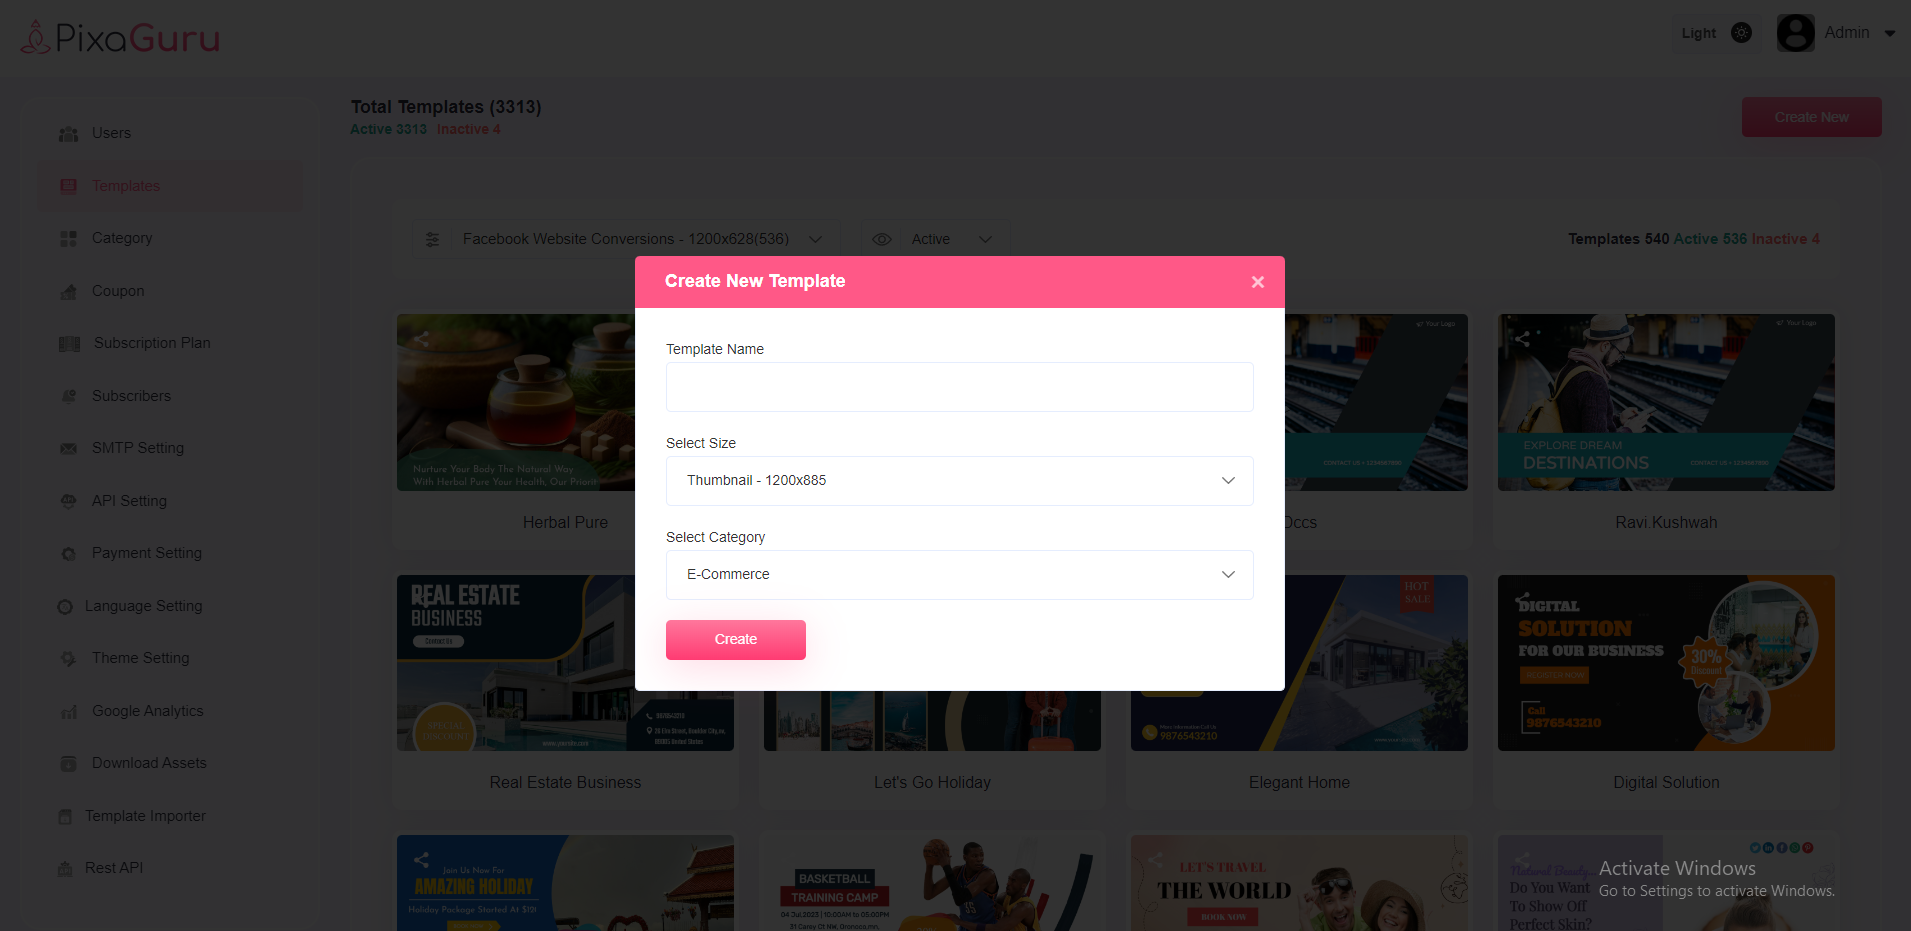
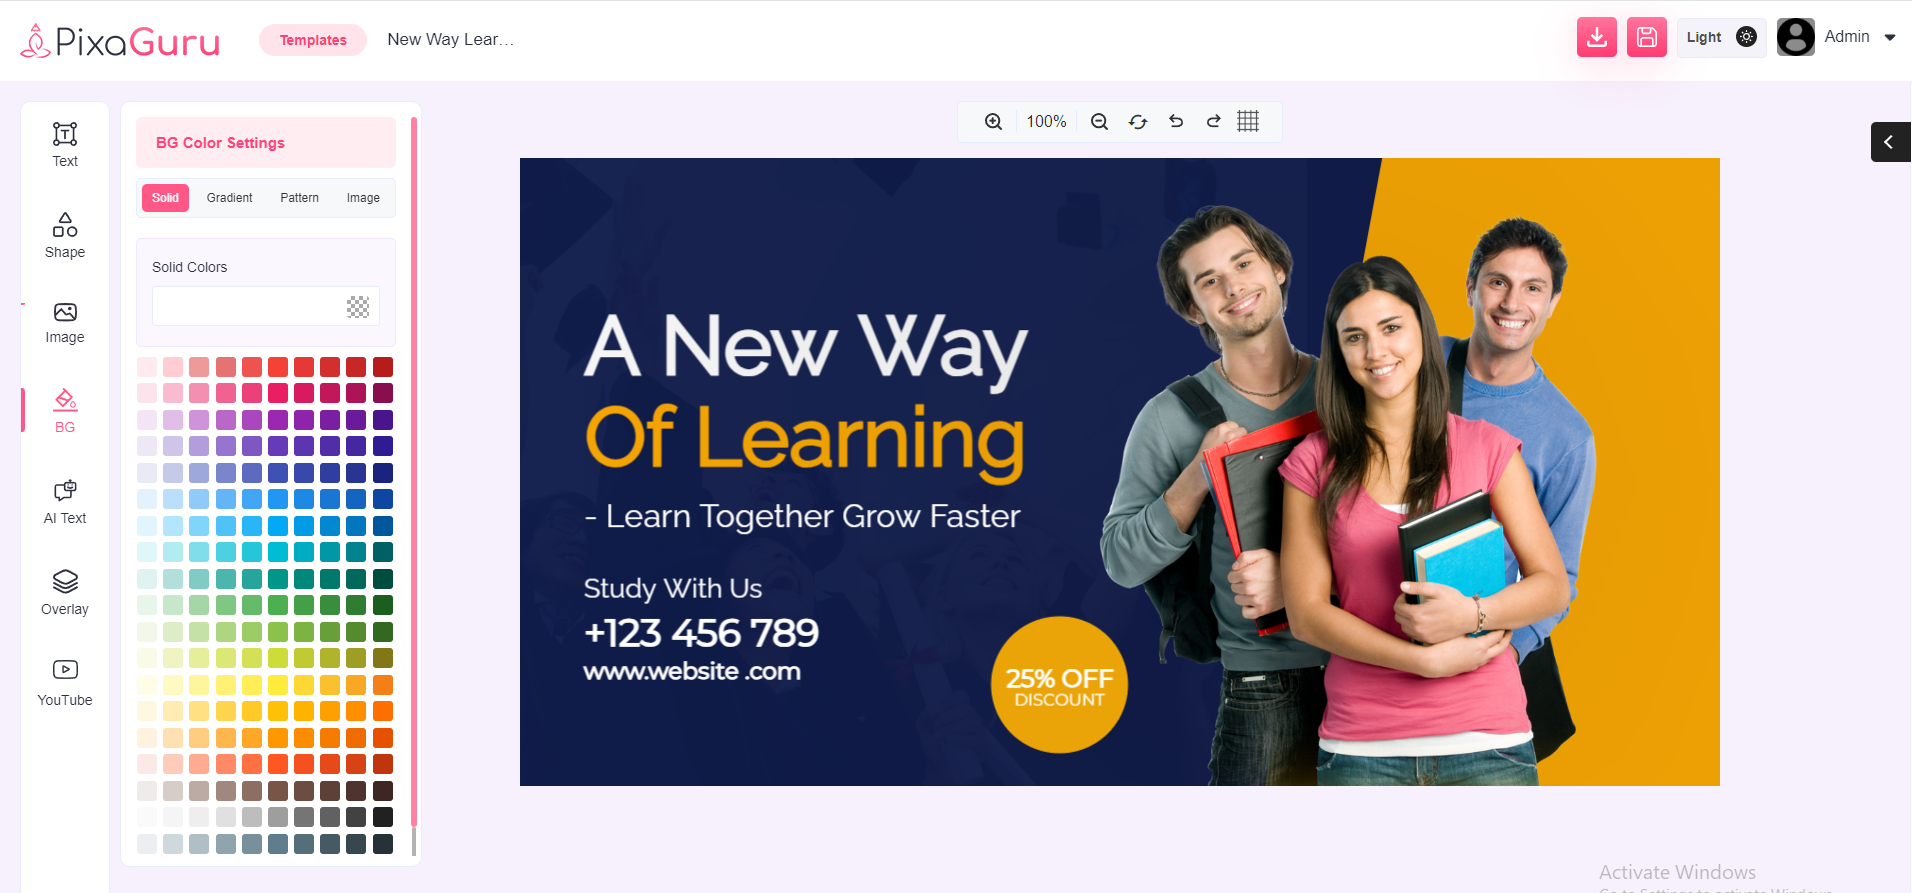
2. A editor screen will appear contains various editing elements.
Text You can add text with this setting and customize the content, font color, font family, font size, etc.

Shapes With this option, you can add shapes to the image.

Image You can add image with this setting. You can use pre built library images and can also generate images through Pixabay and Open AI.

Background This options allows you to add background color.
AI Text With this option you can generate AI Text.
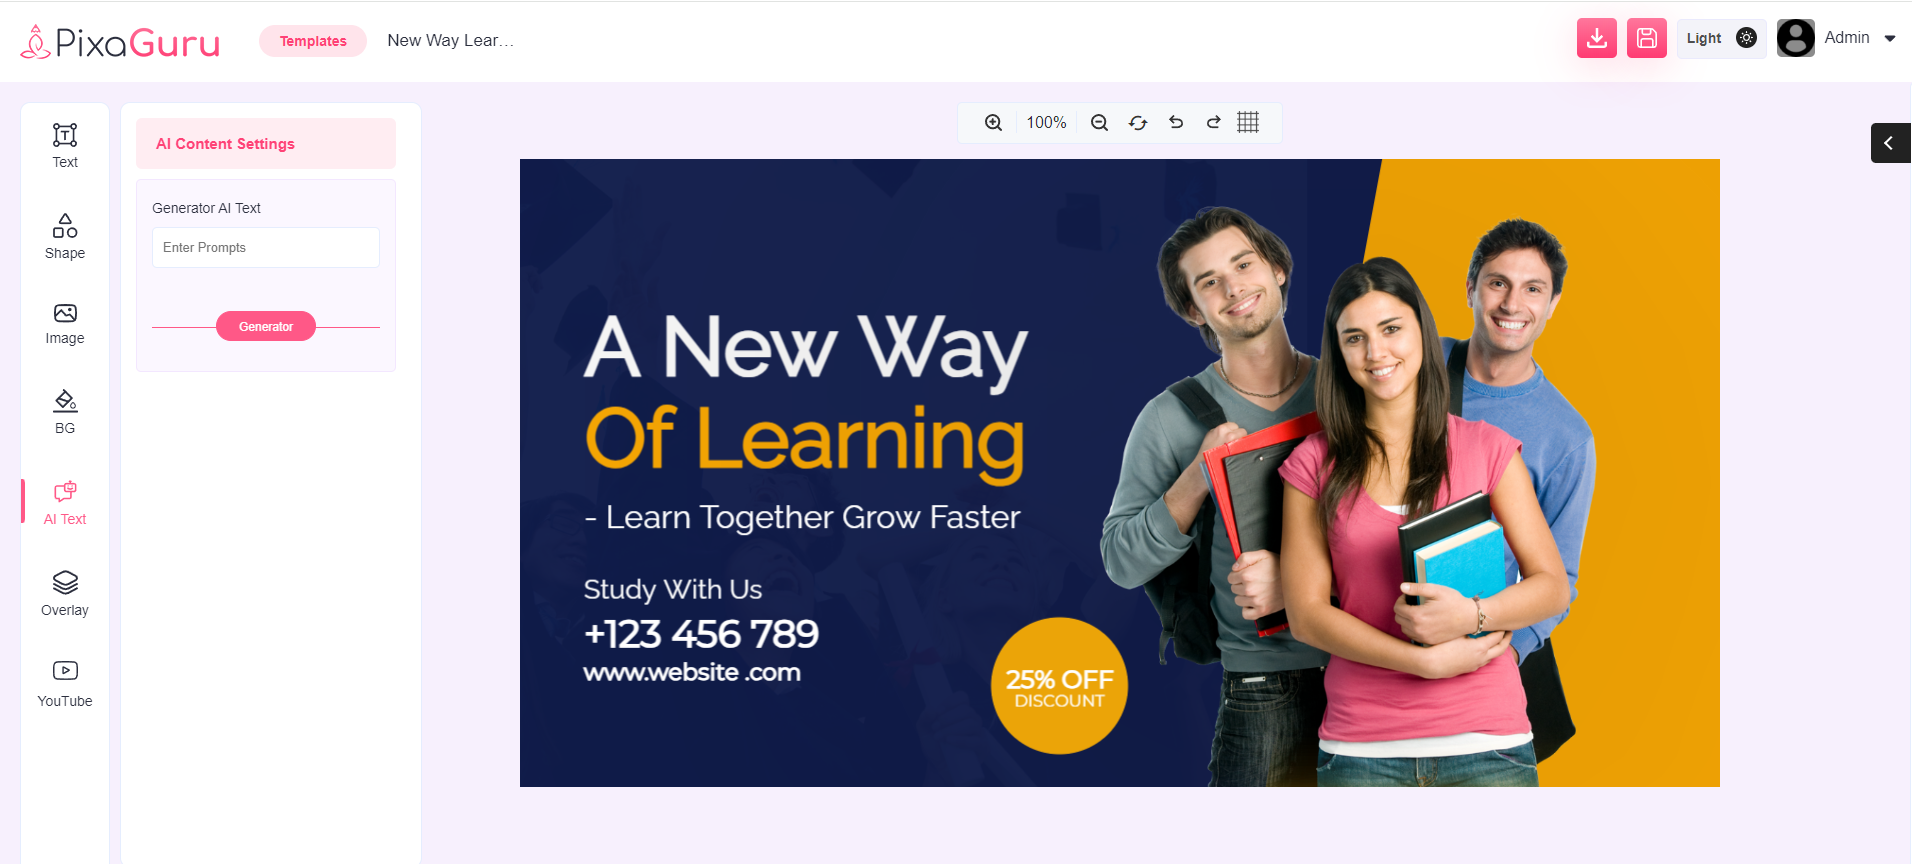
Overlay This option allows you to create a customized overlay.

Youtube thumbnail This option allows you to add the YouTube thumbnail based on the keyword entered.

3. After desired editing, you can download or save the image.
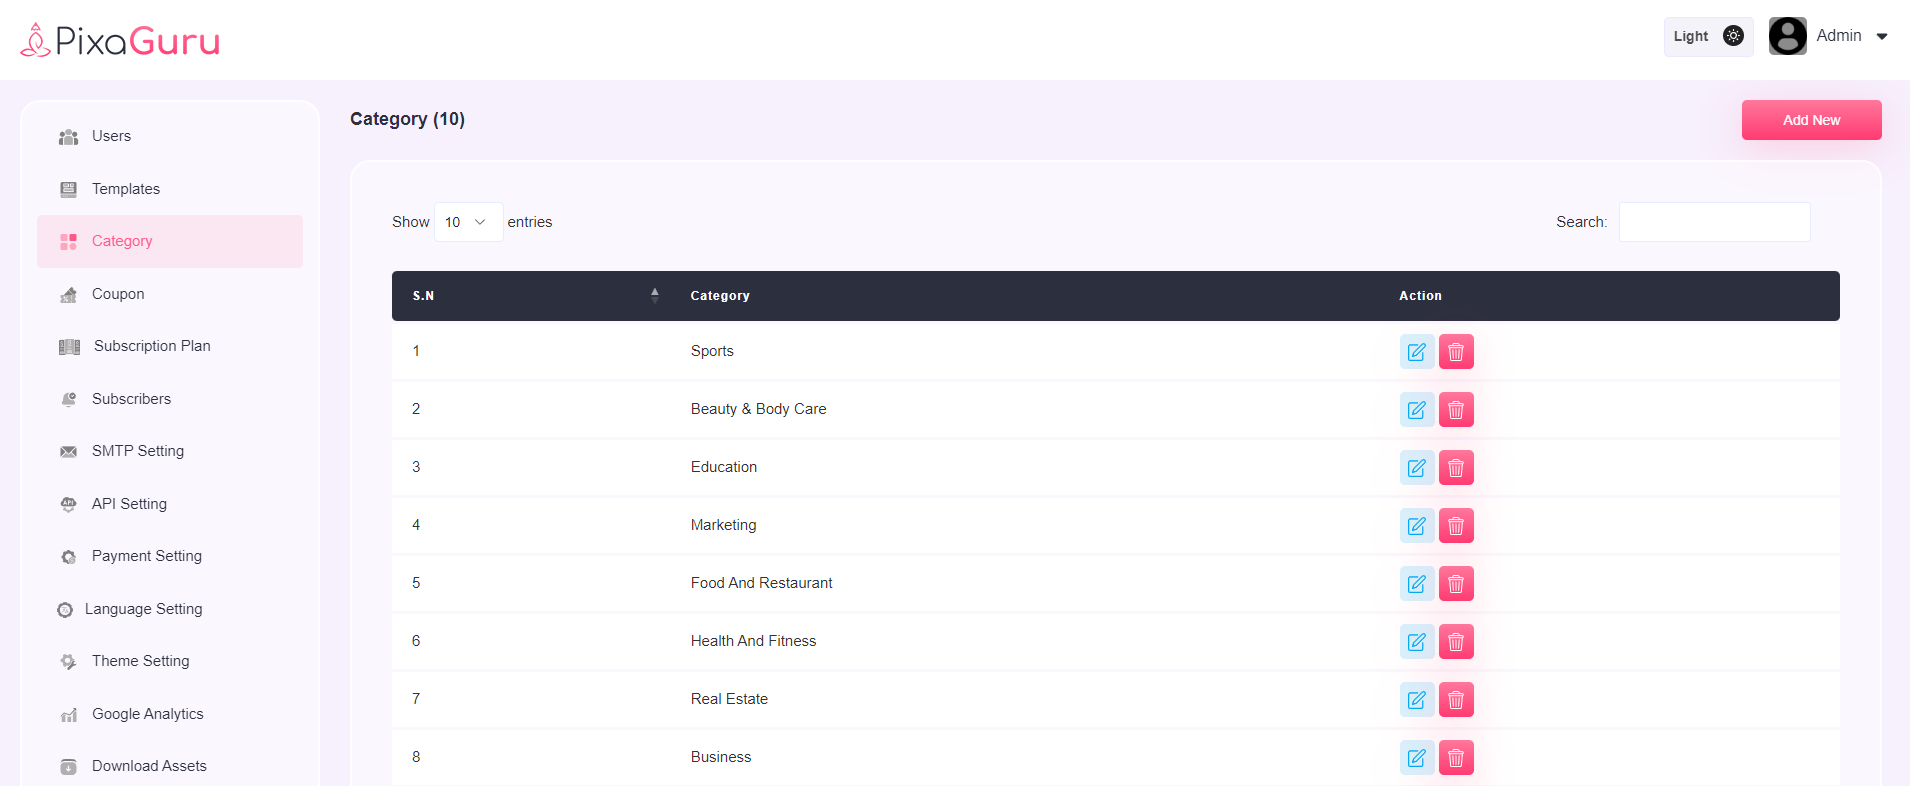
Category
Category settings helps you in creating new category and edit/delete the existing categories.
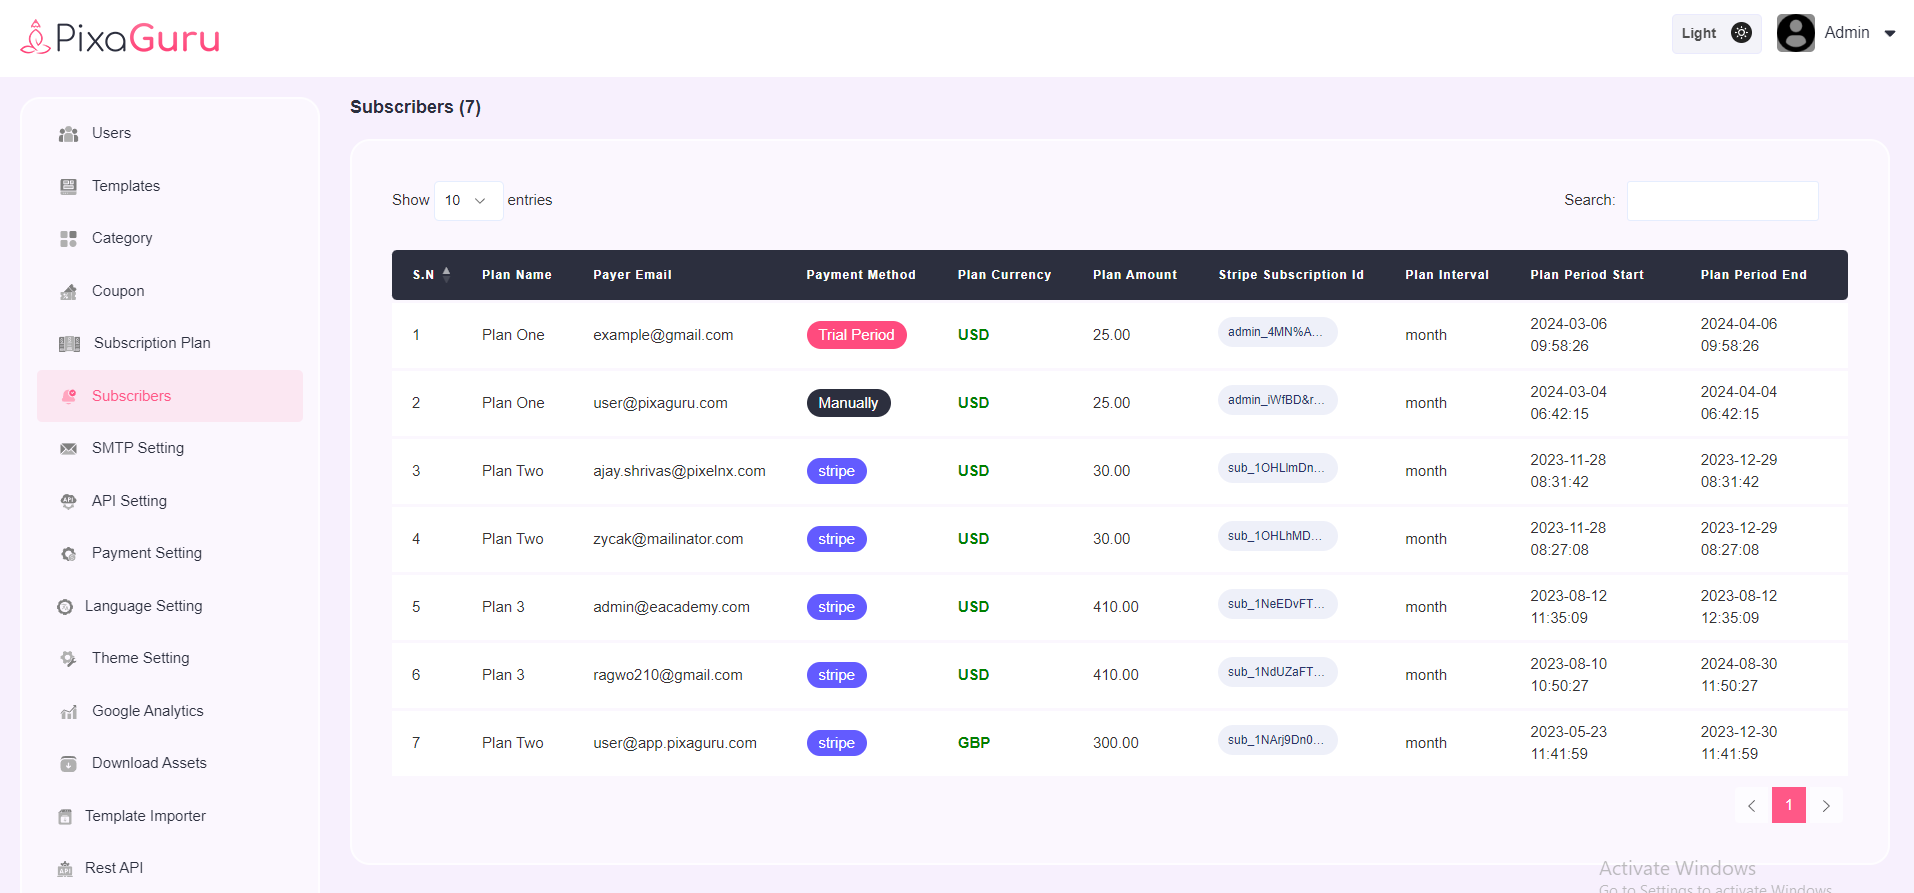
Subscribers
This setting will showcase the list of subscribers.
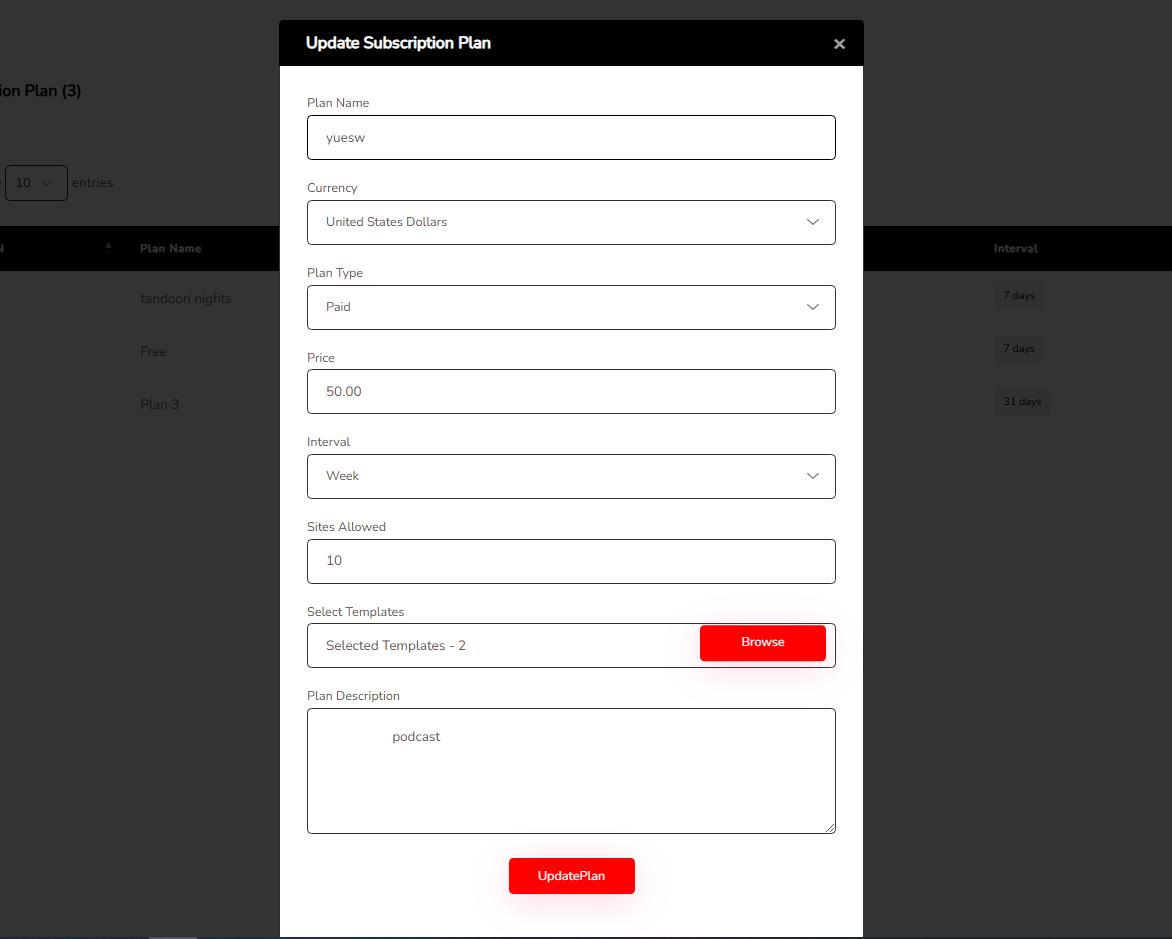
Subscription Plan
With this setting you can see the information of subscription plans and can create new subscription plans.
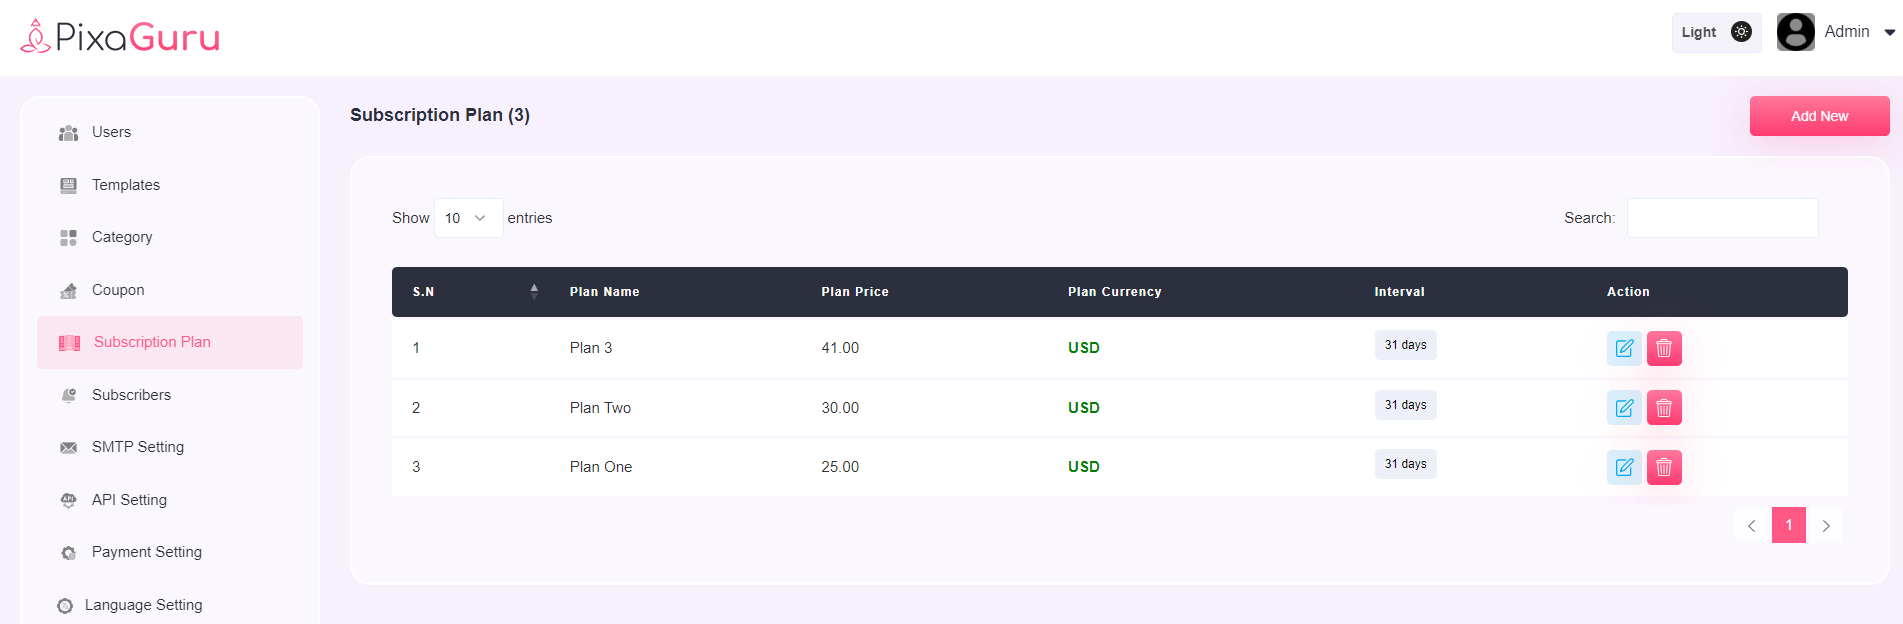
To create new subscription plan click on Add New button. Enter plan name, price, select currency, interval (week/month/year) and set plan description.
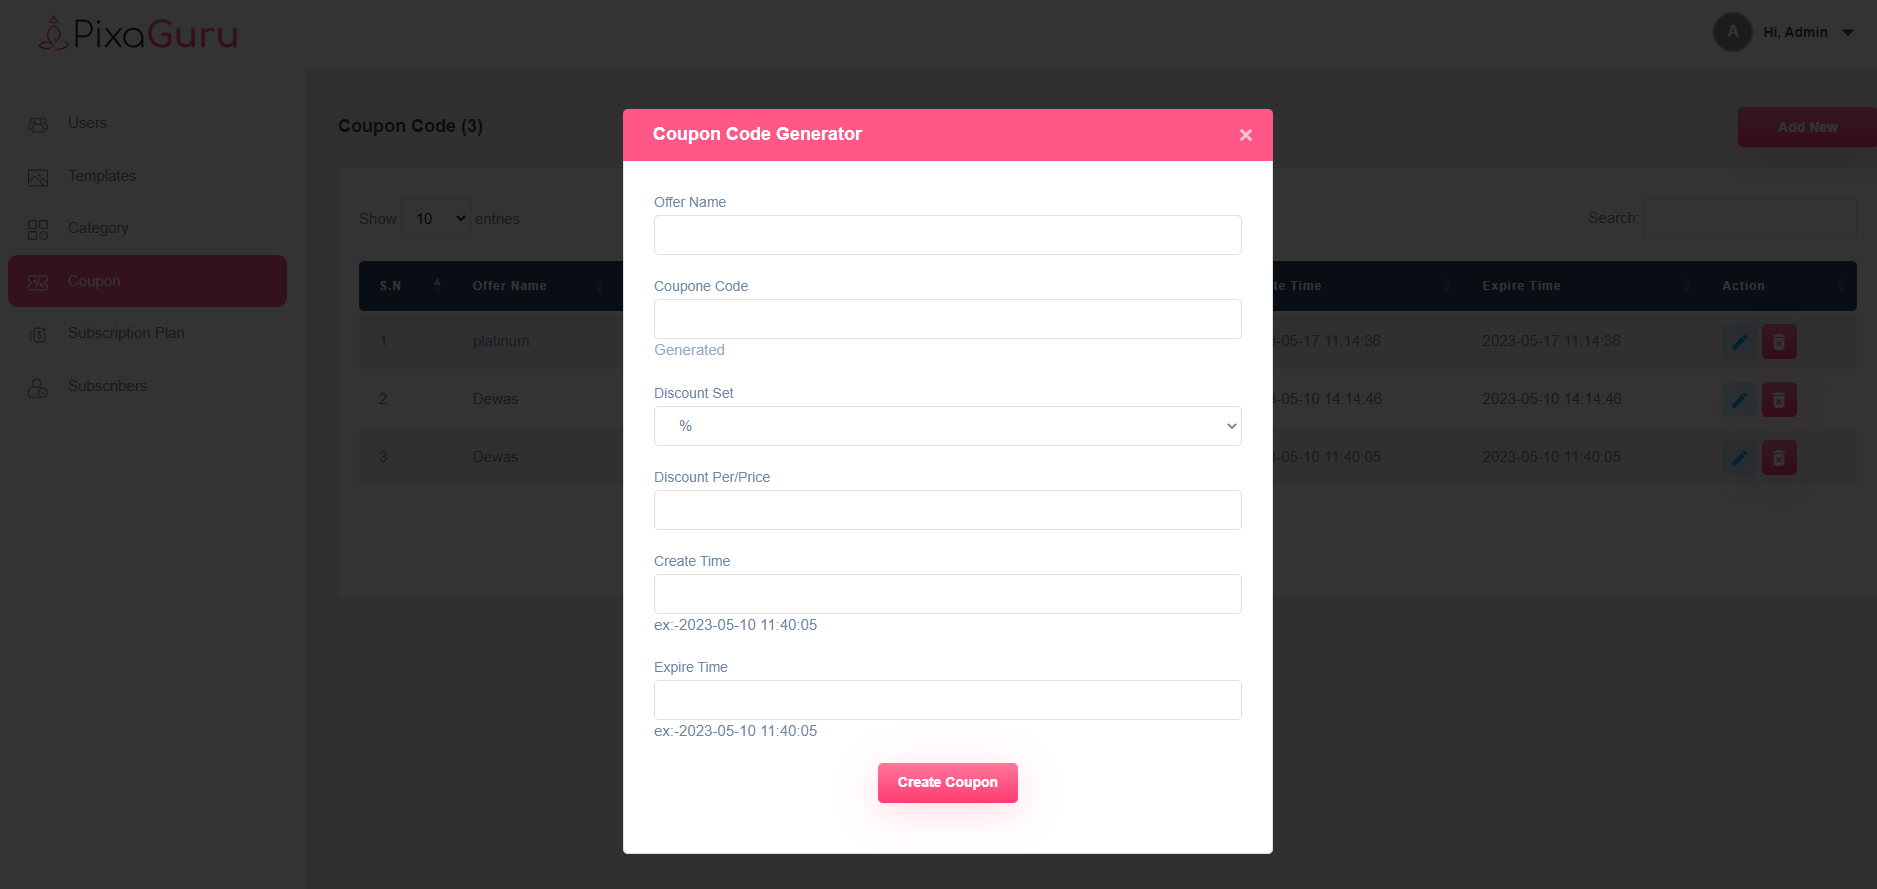
Coupon
Coupon can be added, edited or deleted from this setting.
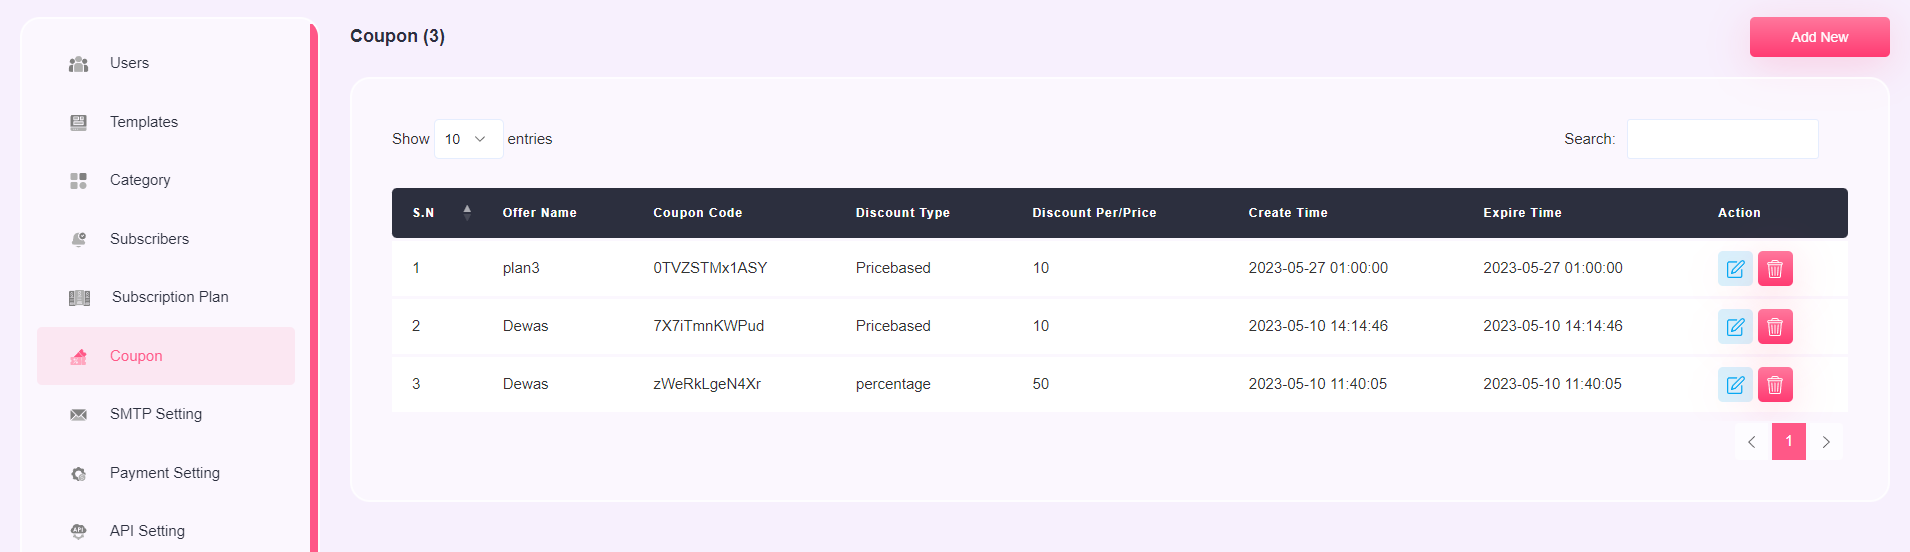
To add coupon click on Add New button. Enter offer name, coupon code (you can click on generated link to auto generate coupon code), set discount as percent or price, discount price, create time and expire time.
SMTP Details
Here you can add SMTP details for sending emails.

Payment setting
User can add here stripe and paypal details.
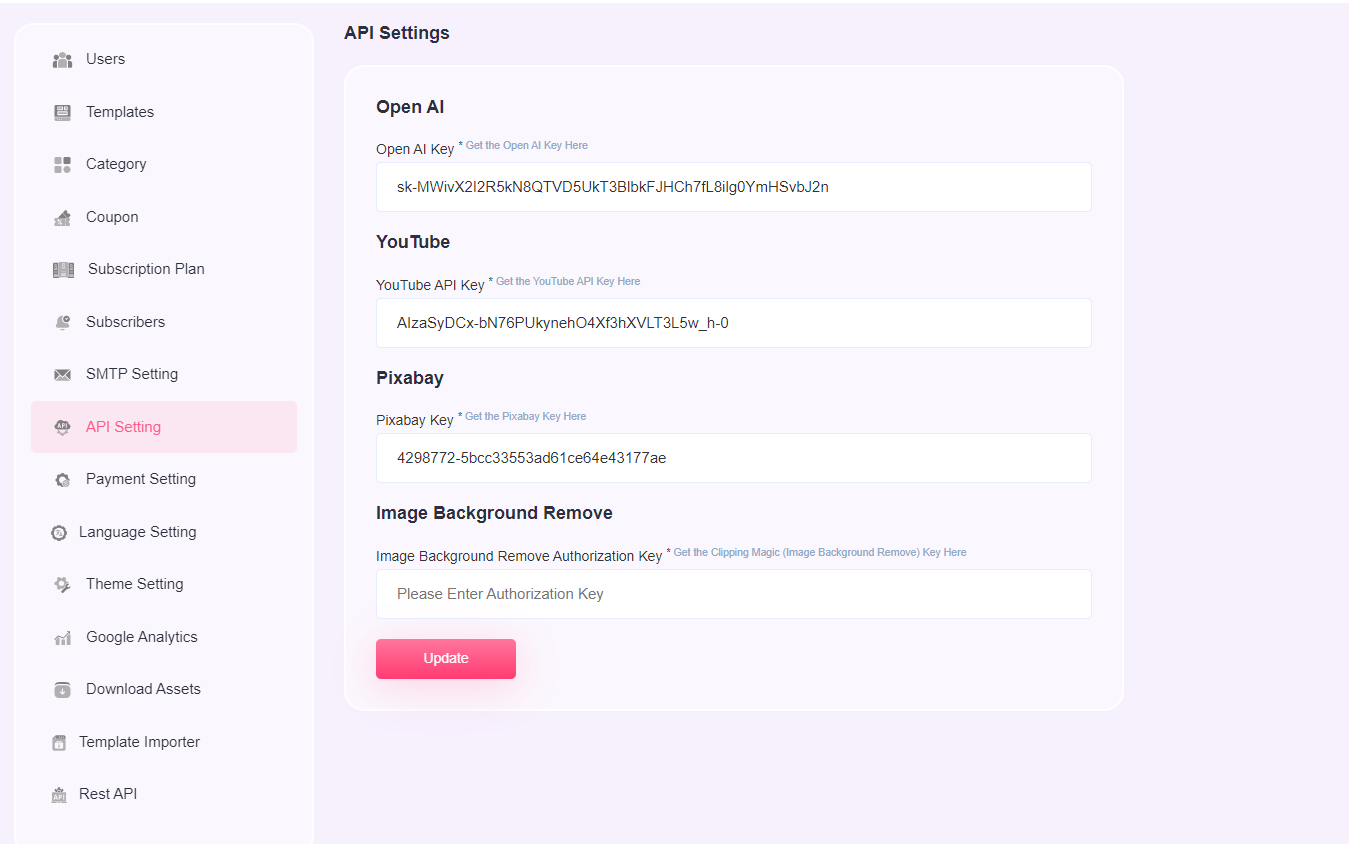
API Setting
User can enter API key of OpenAI, YouTube, Pixabay and Clipping Magic for the background removal.
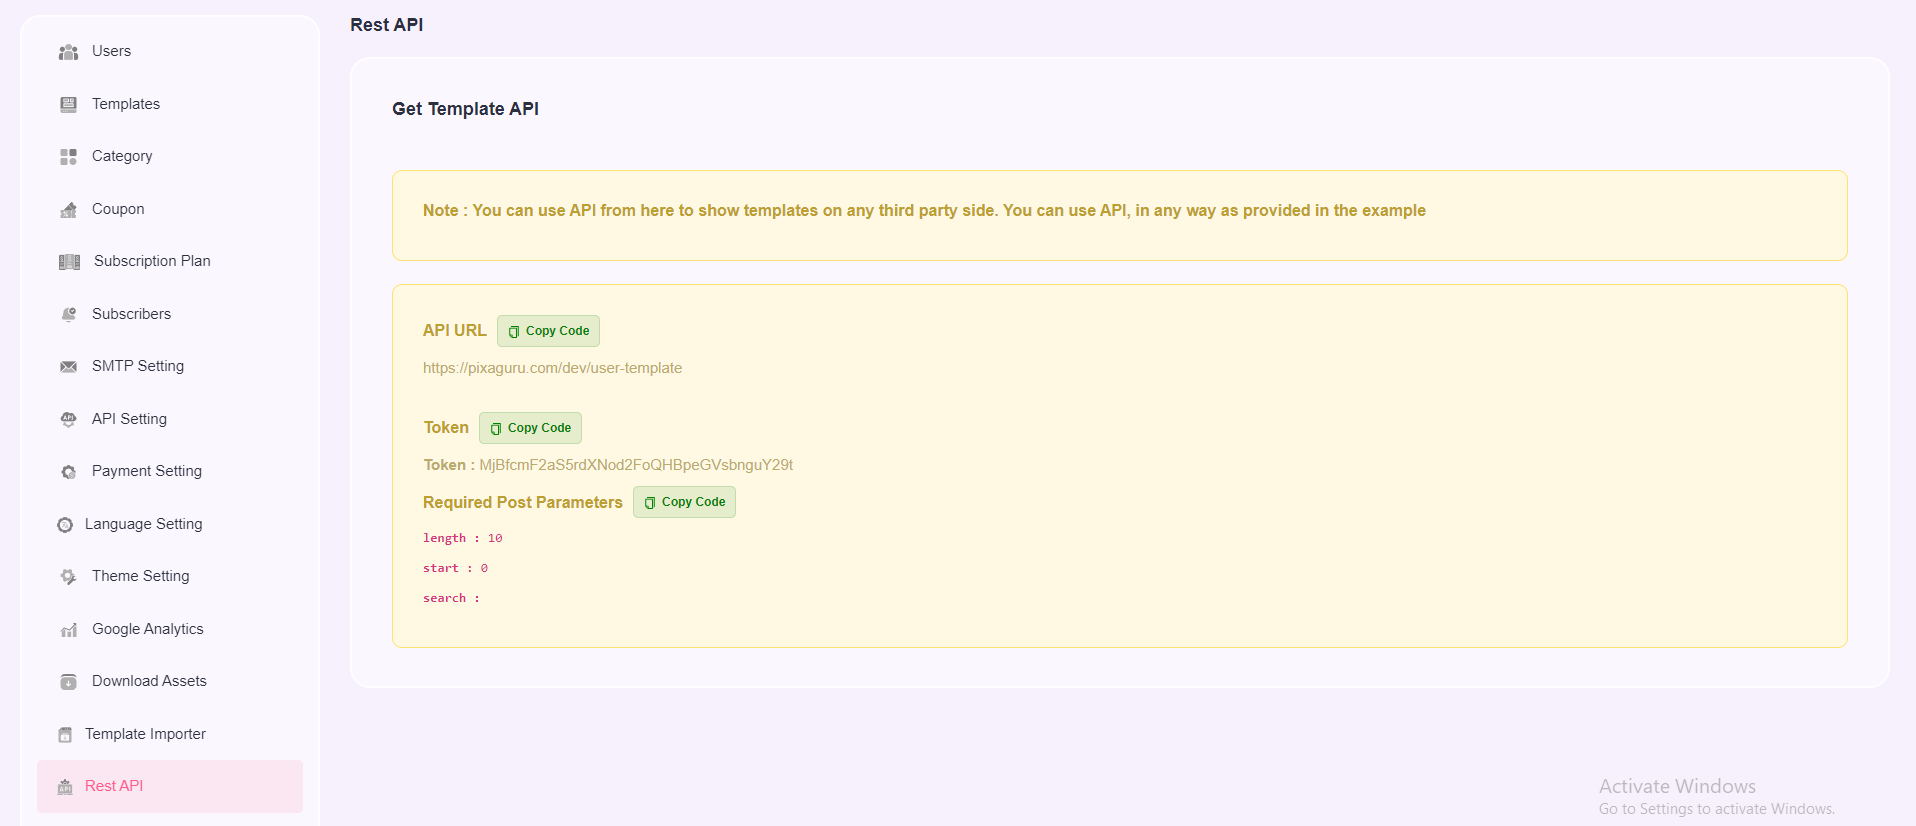
Rest API
User can use any API to show templates on any third party side.
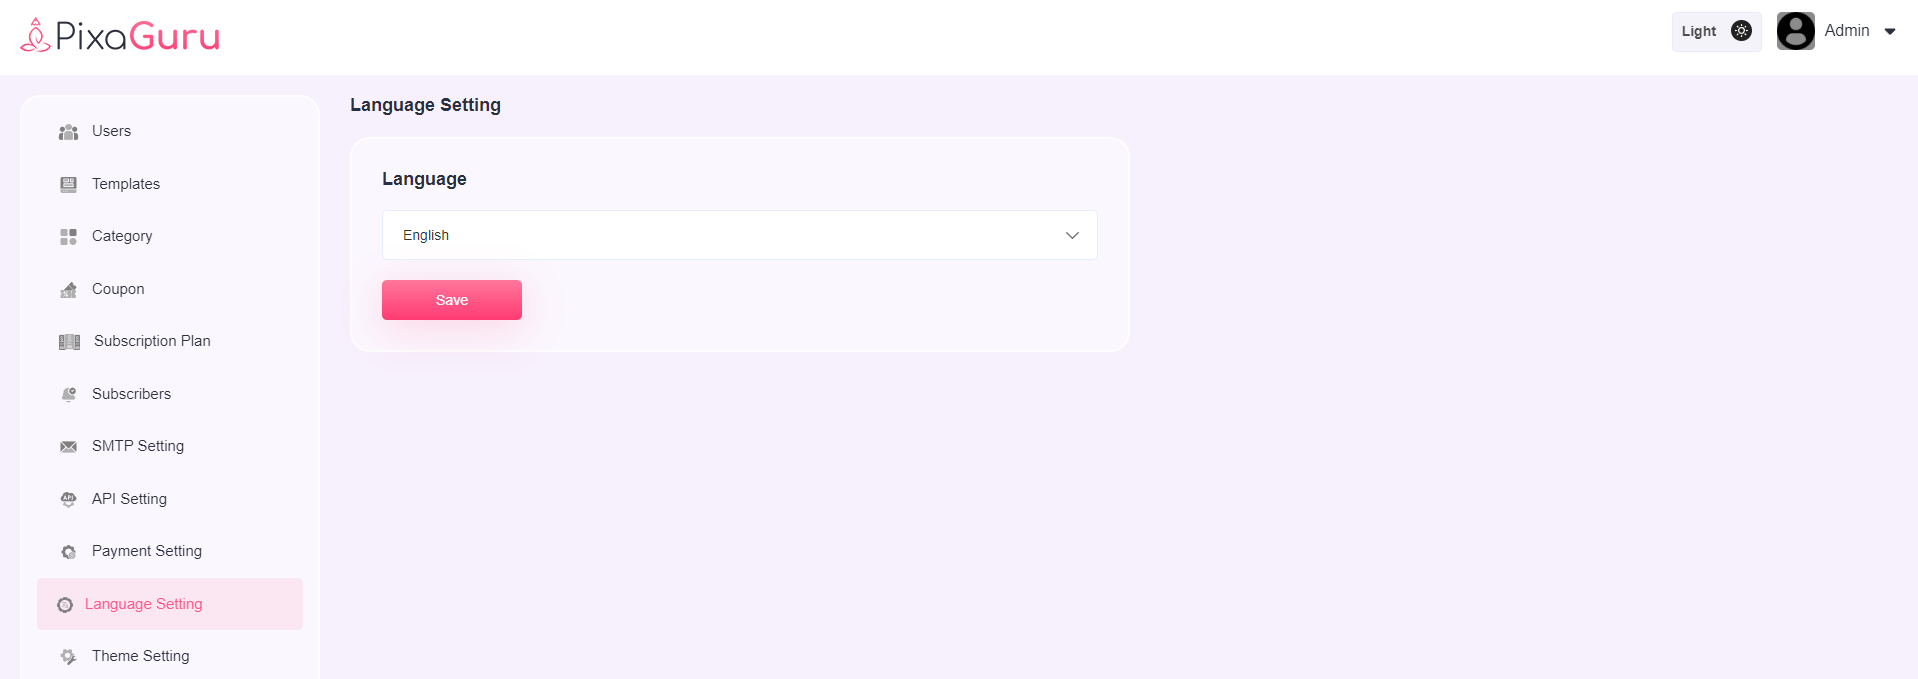
Language setting
In language setting section, you can select any one language from (English, Arabic, French, Spanish)
Download assets
Download Assest option allows you to download the 1700 free templates, 300 templates (for these templates you need to subscribe first), and can purchase the premium templates.
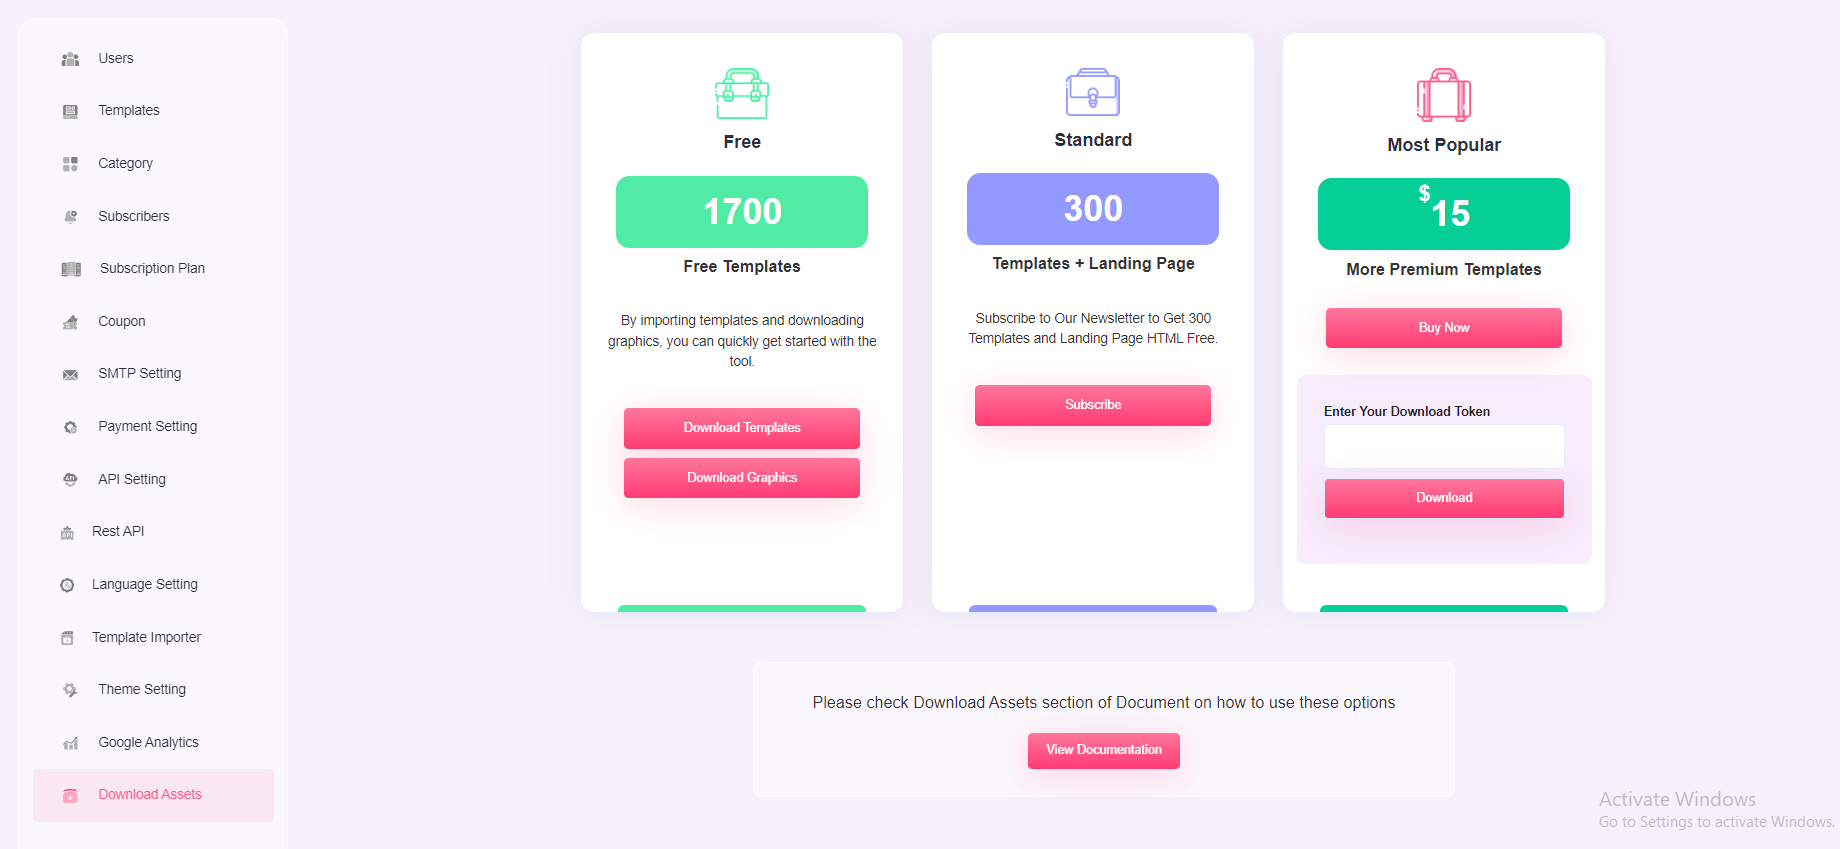
1700 Free templates With this option, you can download the templates and graphics.
How to Download Template and Graphics
1. Download Template - Download the zip file of the template and extract it. You will get a sql file and move in "sql_template" folder under uploads. Once you imported, you will see demo importer option under the Template Importer setting of admin dashboard.
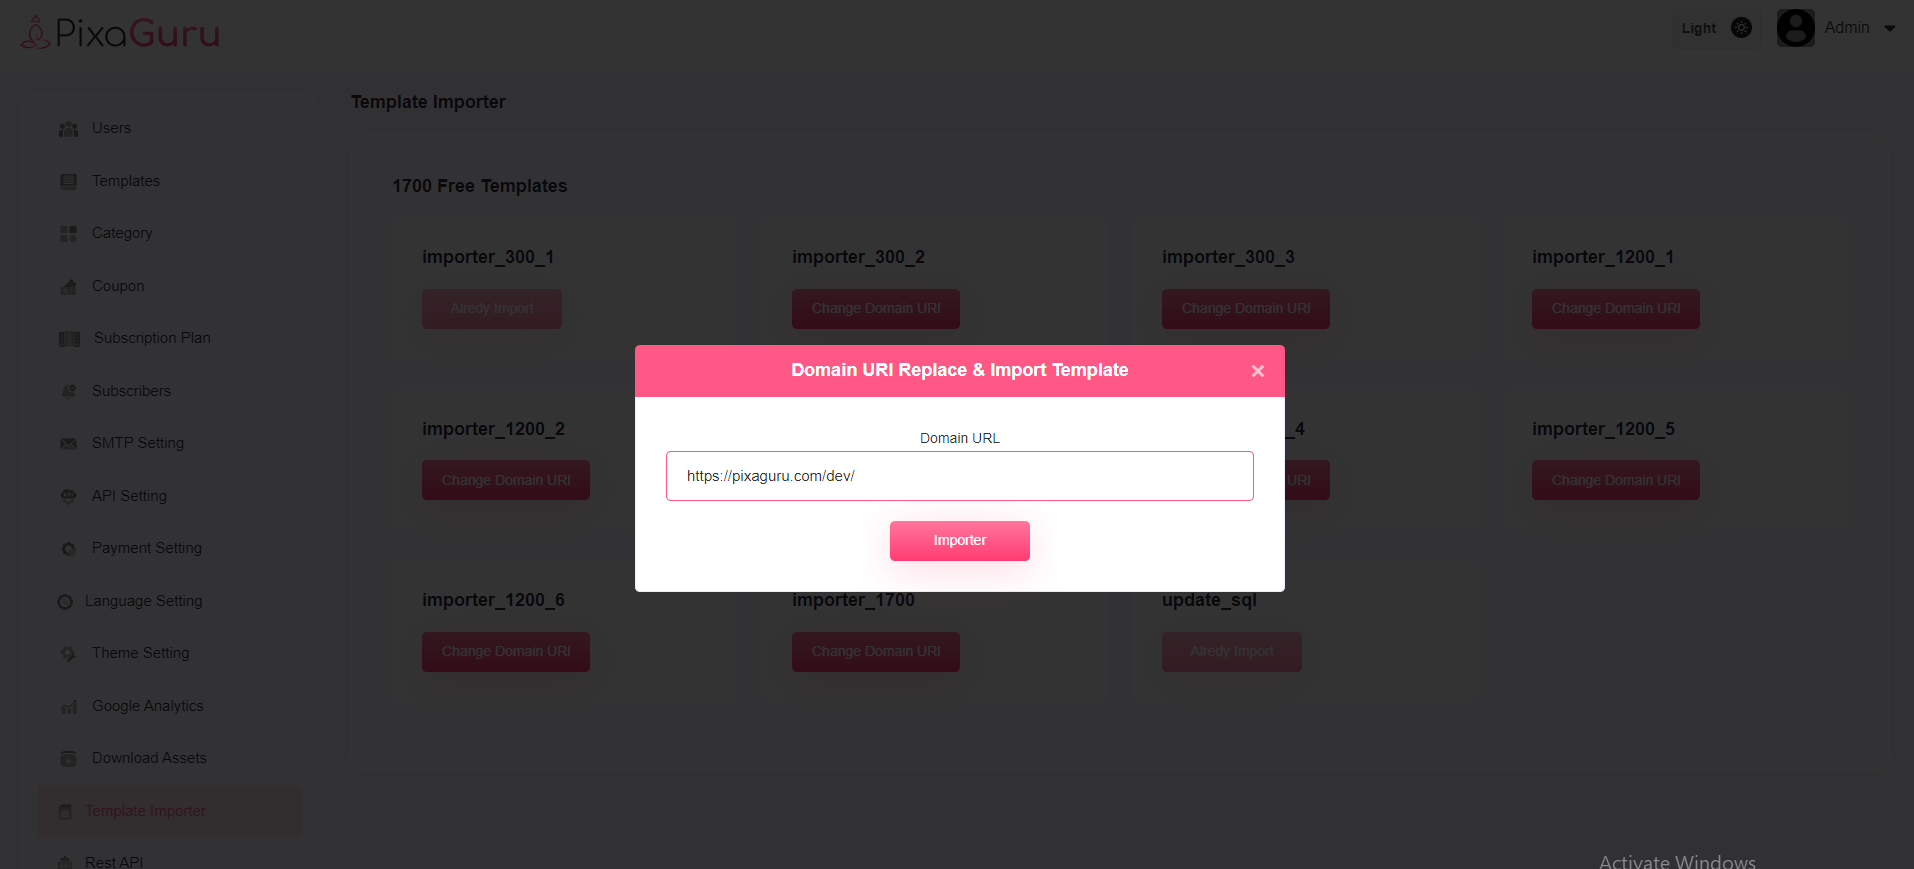
Click on the "Change Domain URL" button and enter your base URL (where you have setup the script for example https://domain_name/folder_name) and hit the Importer button to import the templates.
2. Download Assets - Download the zip file and extract it. Move the user_20 folder inside the Uploads folder.
How to Download 300 templates
After subscribing, you will get option to download the templates. Download the zip file of the template and extract it. You will get two sql files and move them in "sql_template" folder under uploads. Once you imported, you will see demo importer option under the Template Importer setting of admin dashboard.
Click on the "Change Domain URL" button and enter your base URL (where you have setup the script for example https://domain_name/folder_name) and hit the Importer button to import the templates.
How to Download Premium Template
First purchase the plan, you will get a token ID. Enter the token and Download the zip file of the template and extract it. You will get multiple sql files and move them one by one in "sql_template" folder under uploads folder. Once you imported, you will see demo importer option under the Template Importer setting of admin dashboard.
Click on the "Change Domain URL" button and enter your base URL (where you have setup the script for example https://domain_name/folder_name) and hit the Importer button to import the templates.
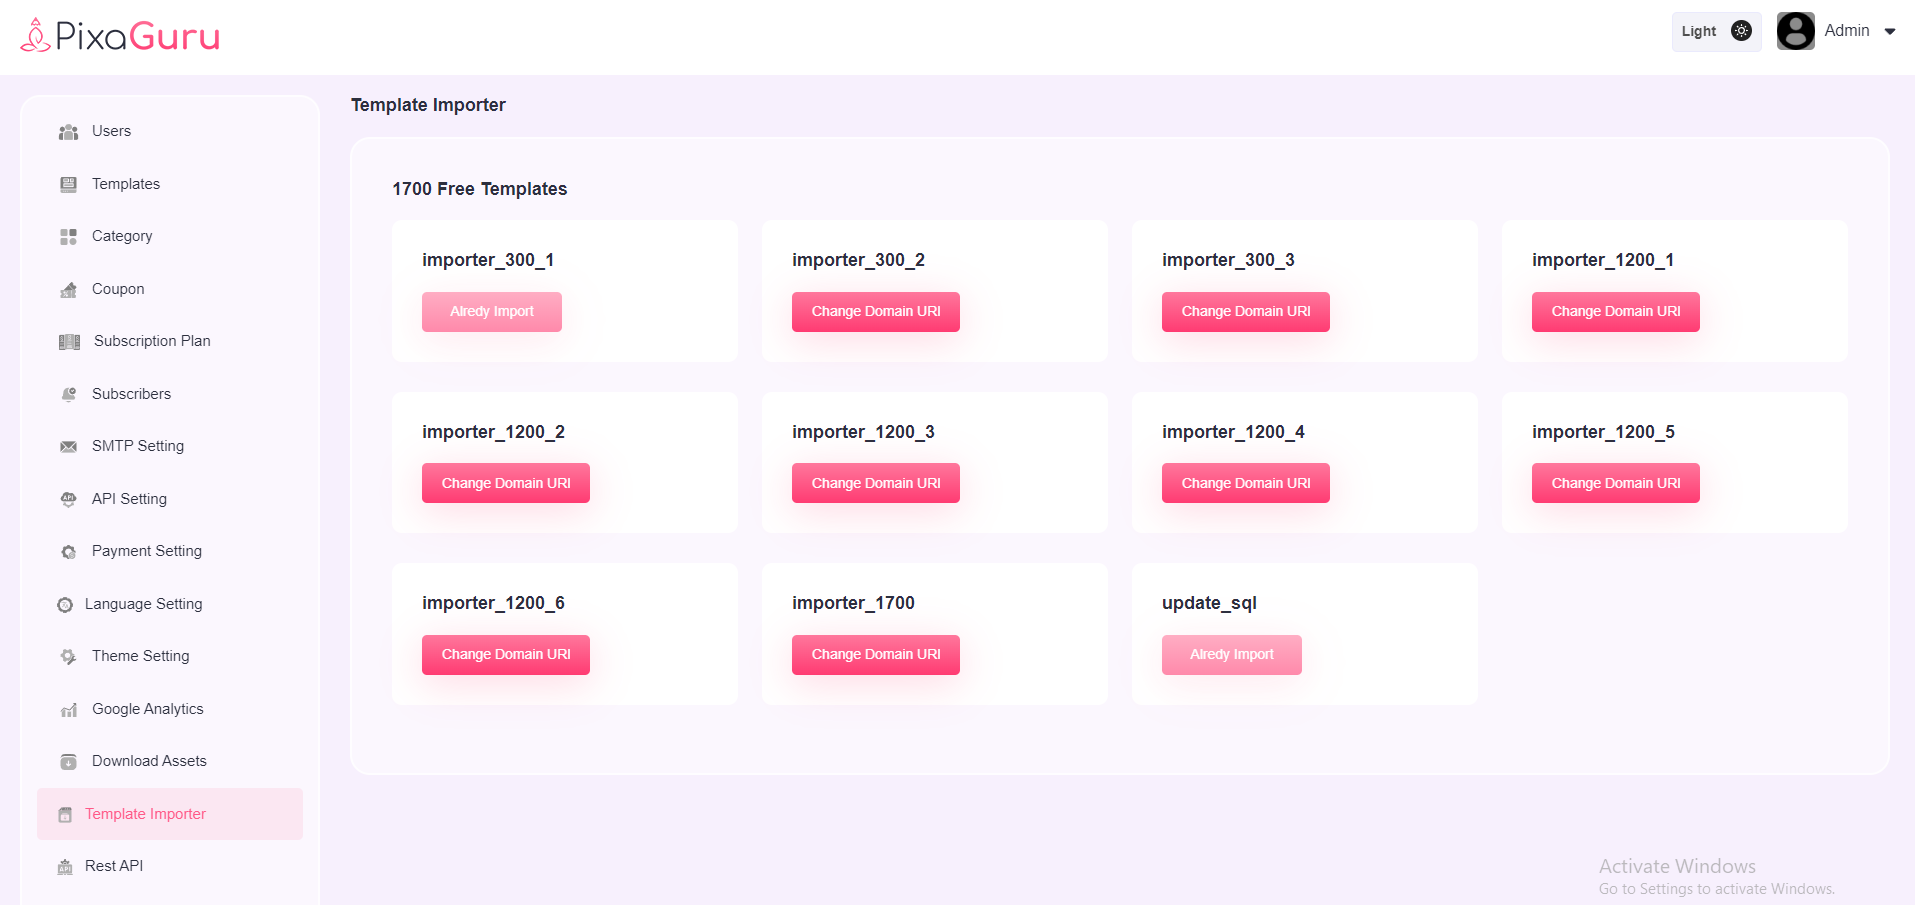
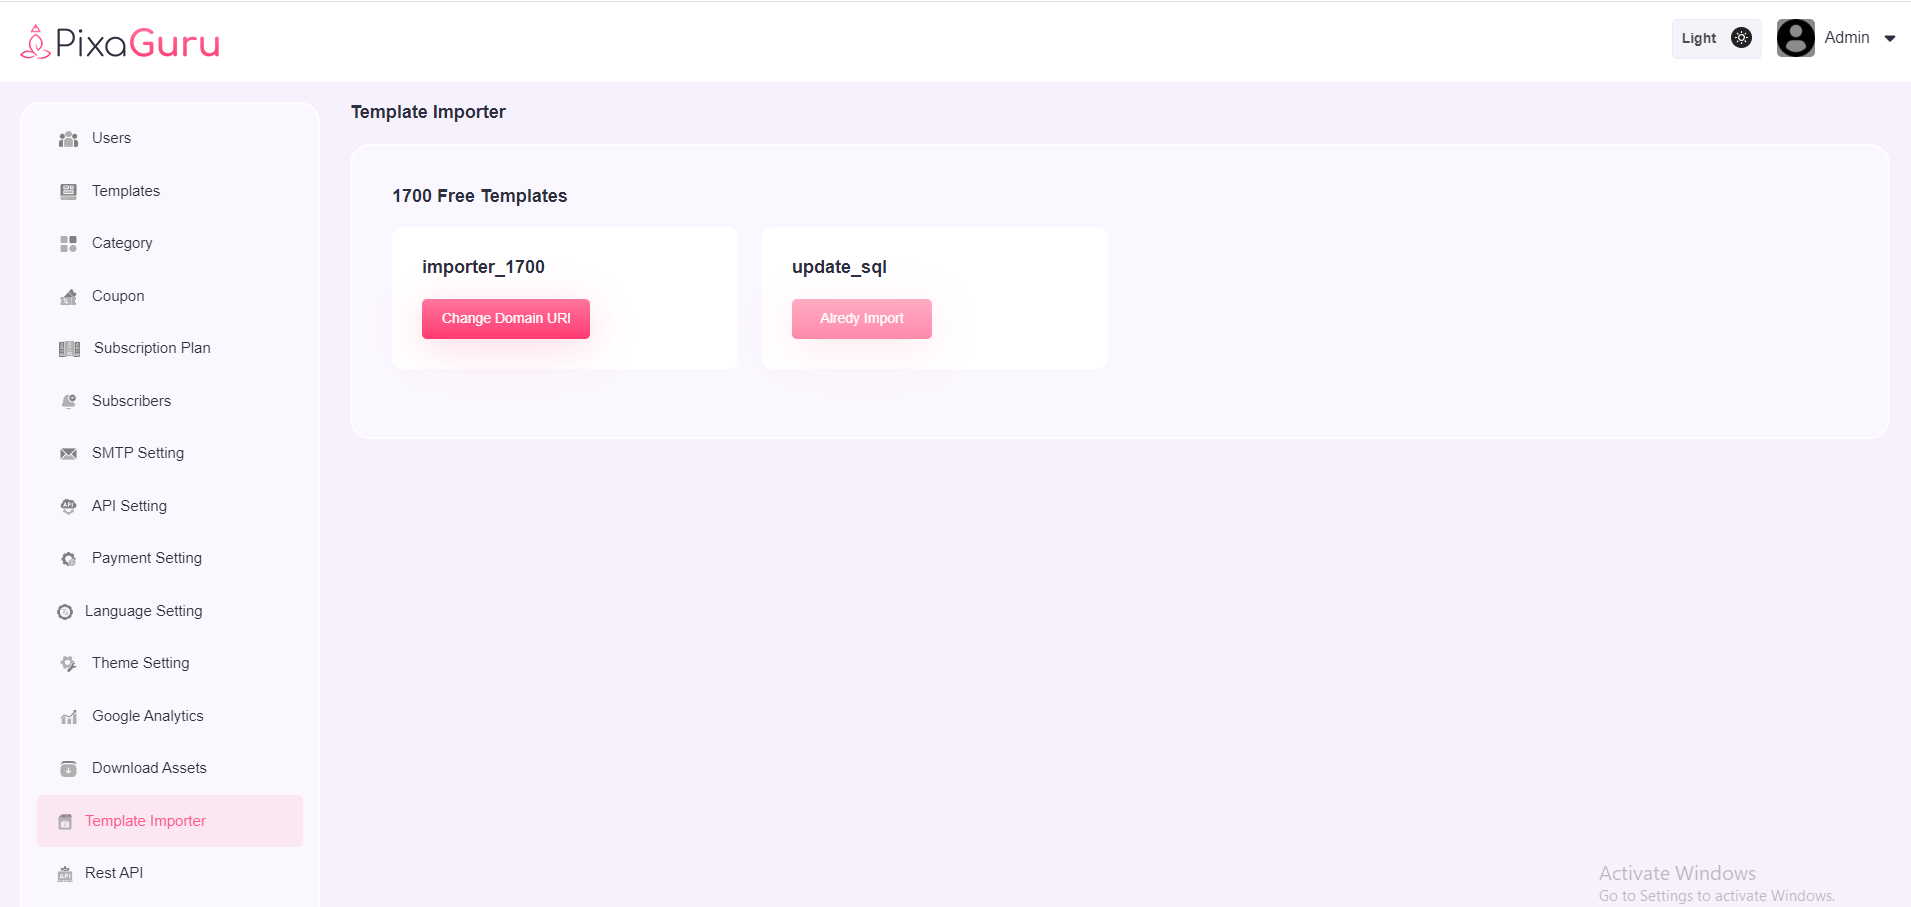
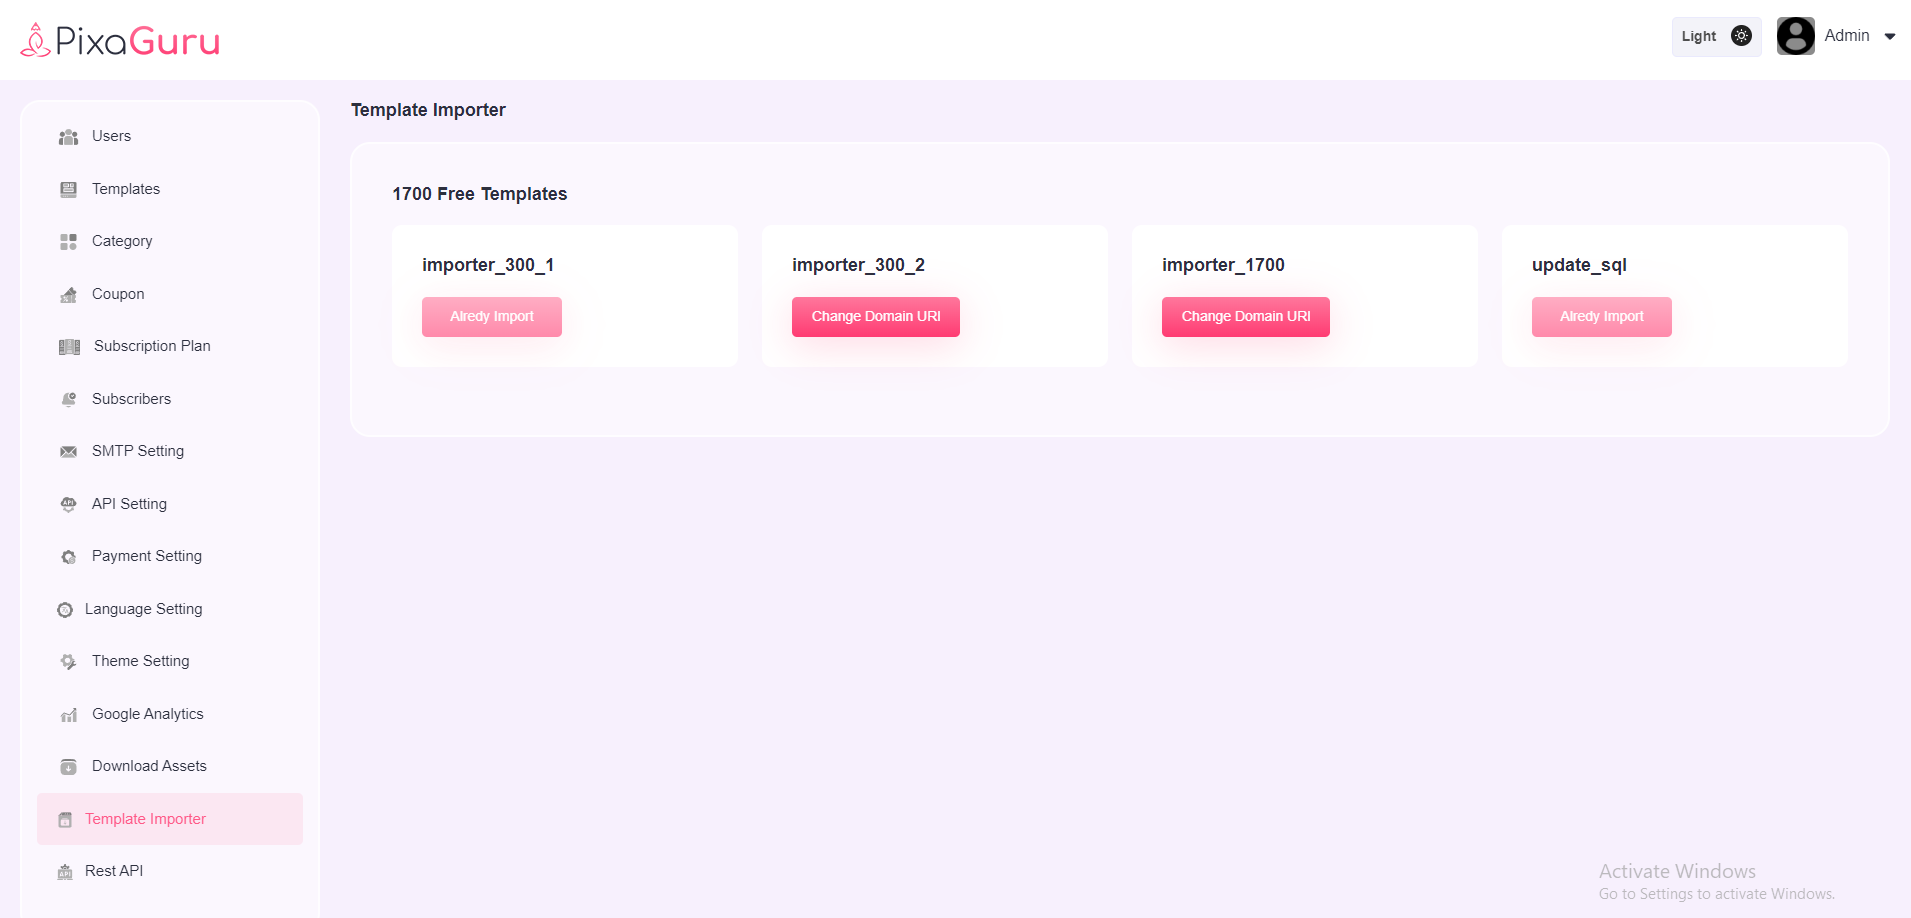
Template Importer
You will see update_sql option by default in this setting.
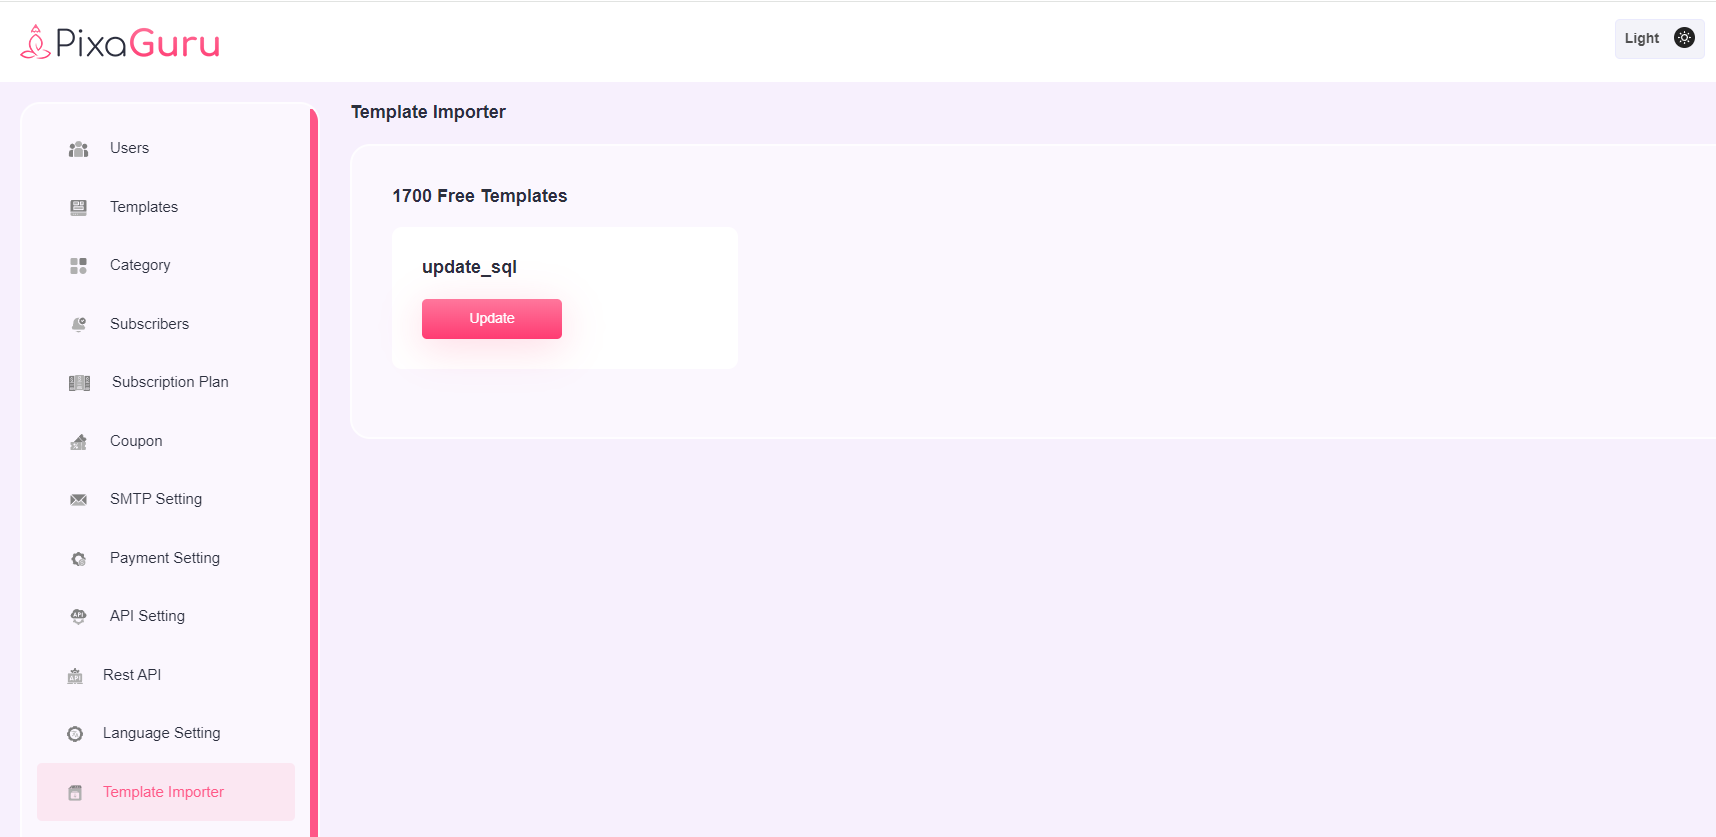
Remaining options will be visible once admin downloaded the templates and imported them.
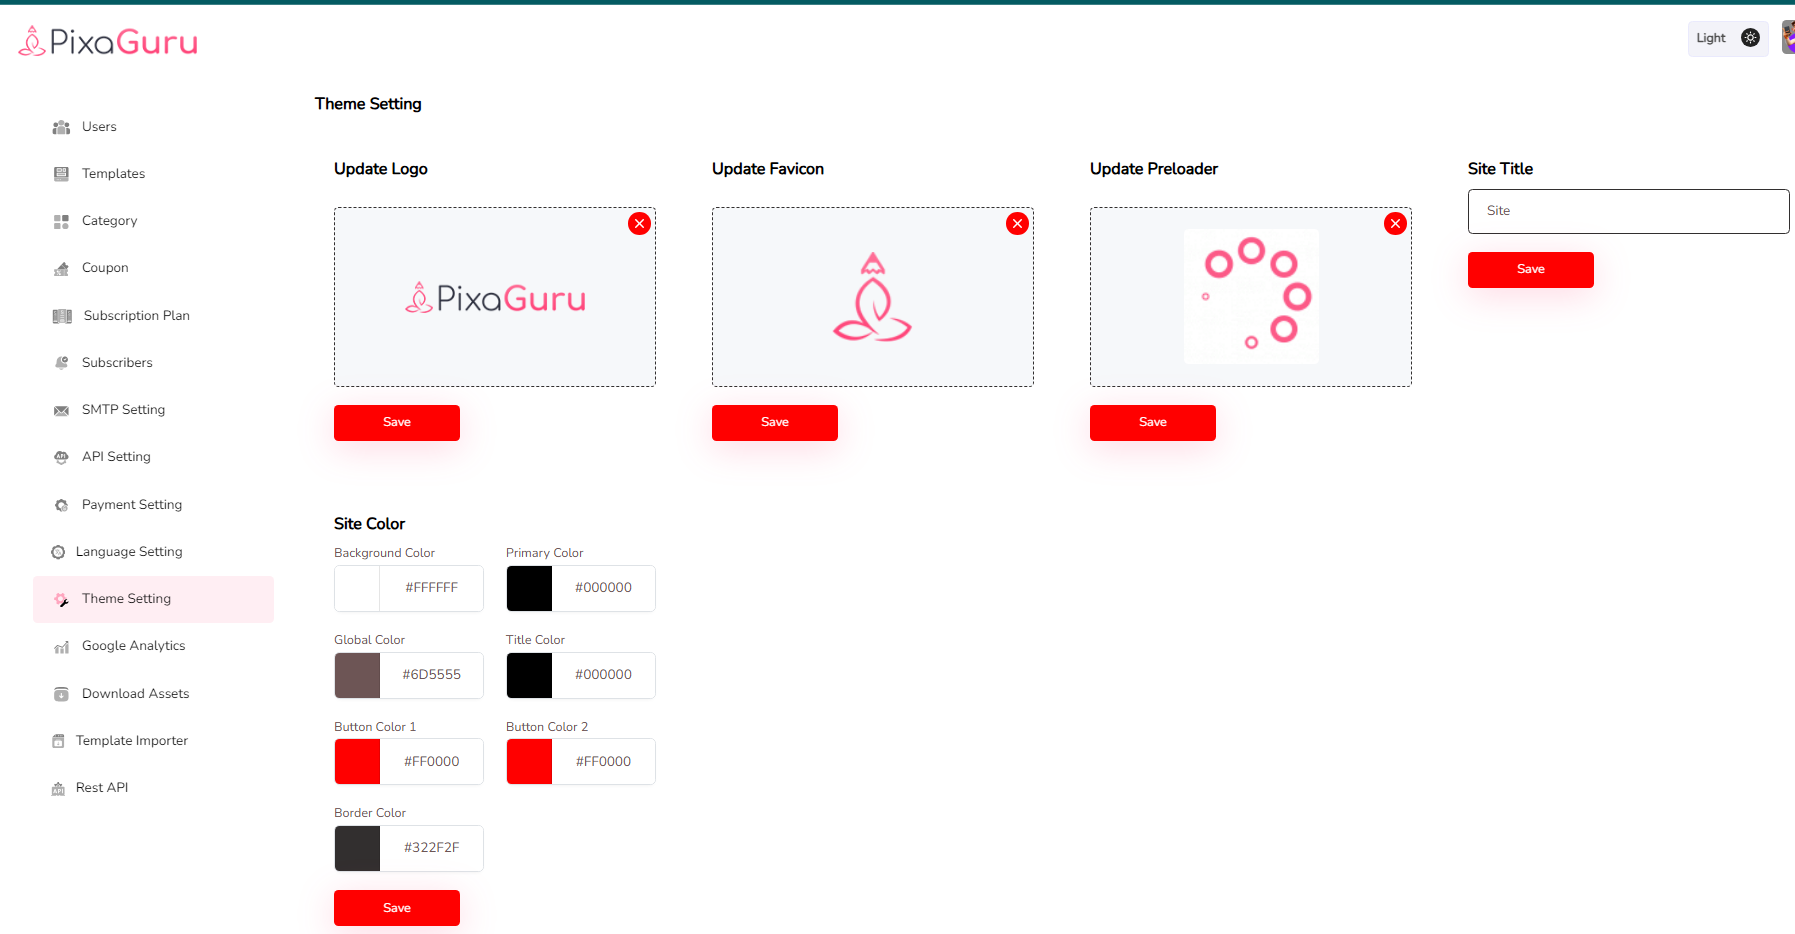
Theme Setting
User can change logo, favicon, preloader, and site name site color from here.
Google Analytics
In this section user can add header and footer scripts.

User Dashboard
User Dashboard will show all the modules accessible to users.
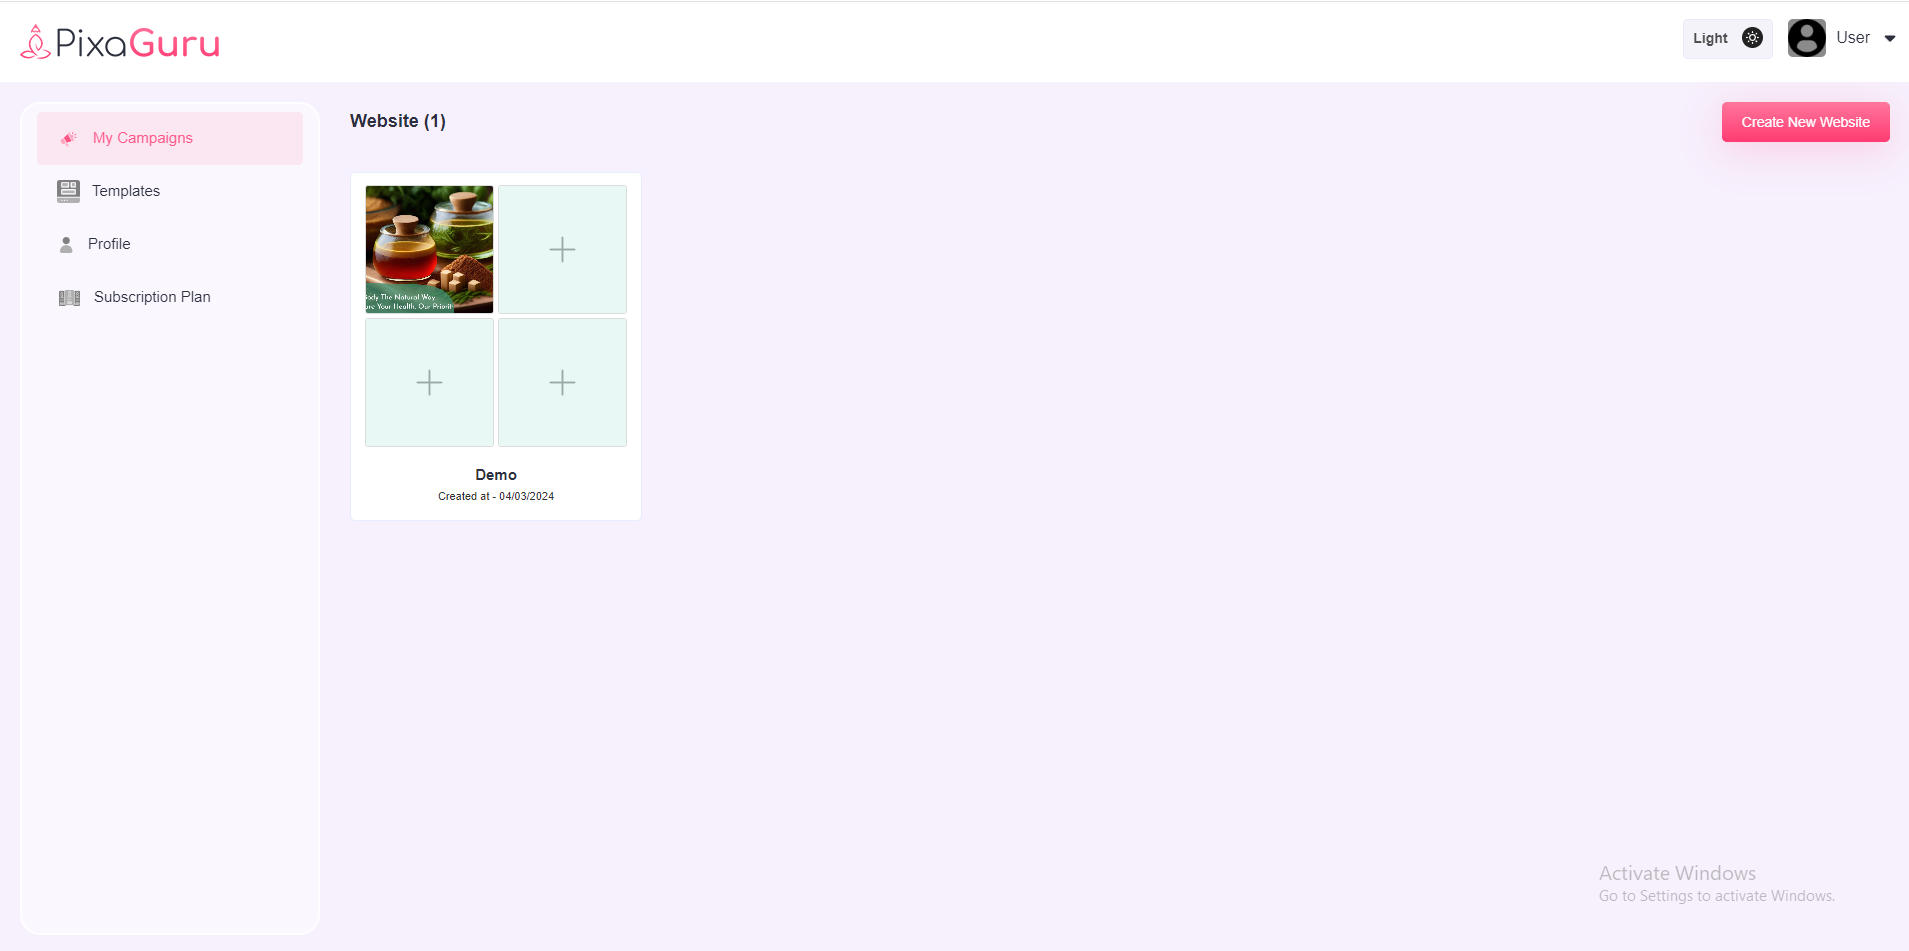
My Campaigns
User can see all templates here and on hover the template, it will give a two options : View template and Use this template.After that, on clicking "cretae new template" user will see a popup and fill all the details to create template.
User Templates
User can see all templates here and on hover the template, it will give a two options : View template and Use this template.After that, on clicking "cretae new template" user will see a popup and fill all the details to create template.
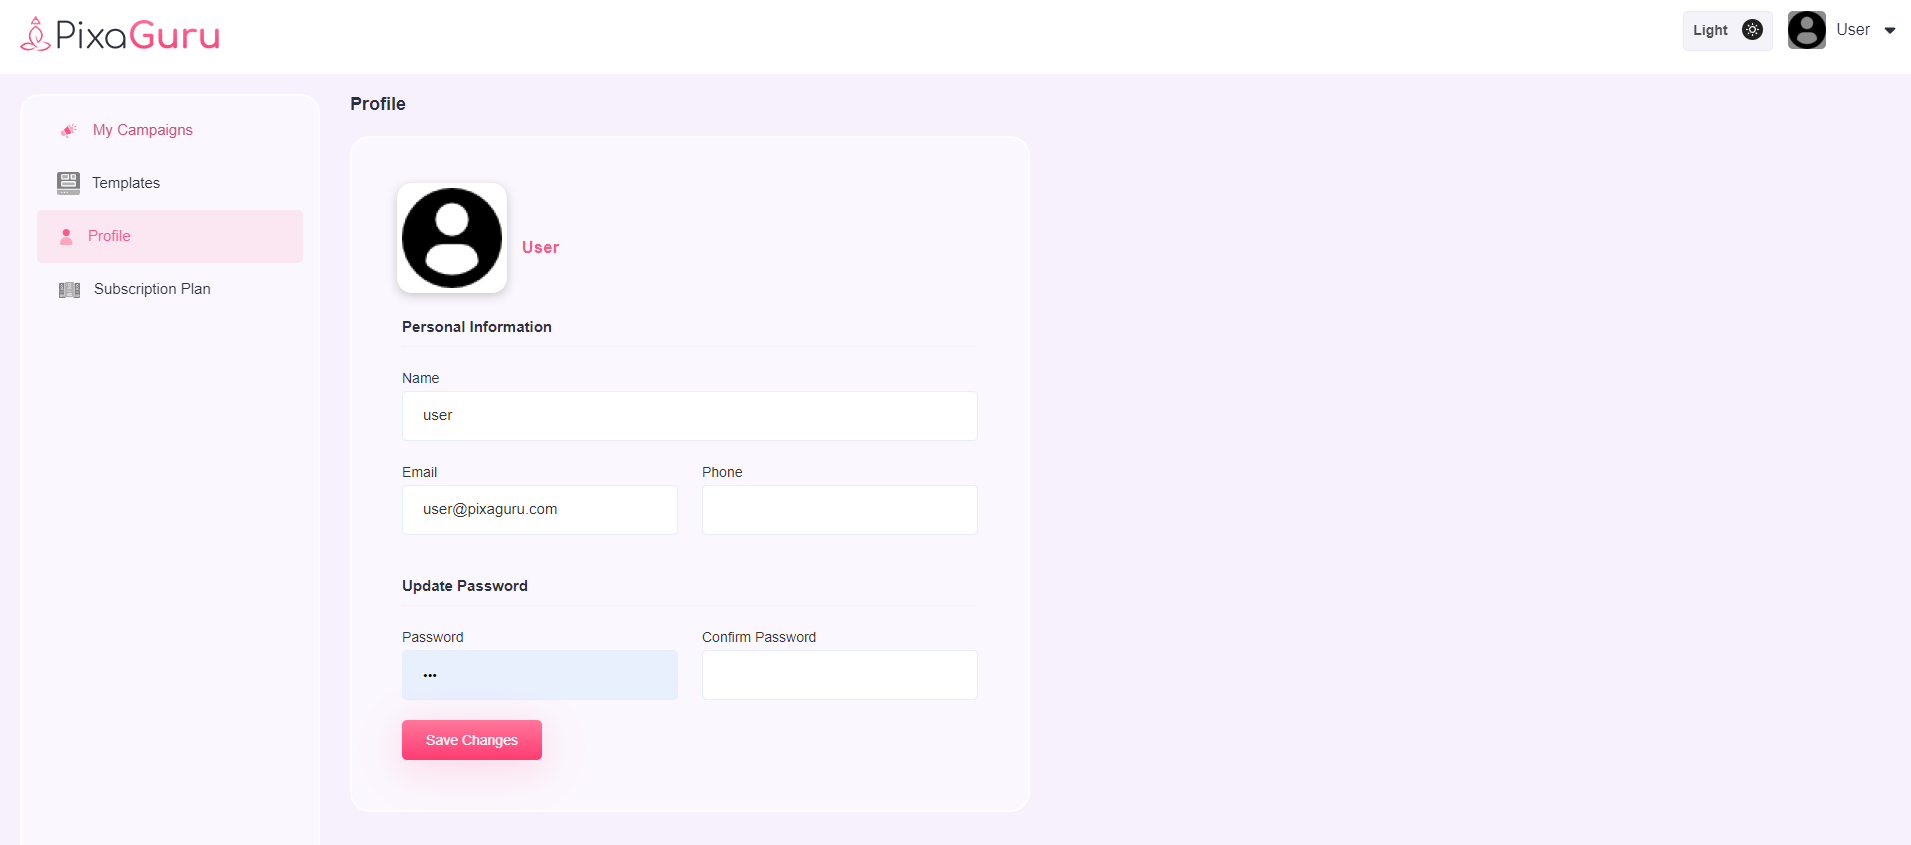
User profile
User can change profile image, email address, contact number, and update password.
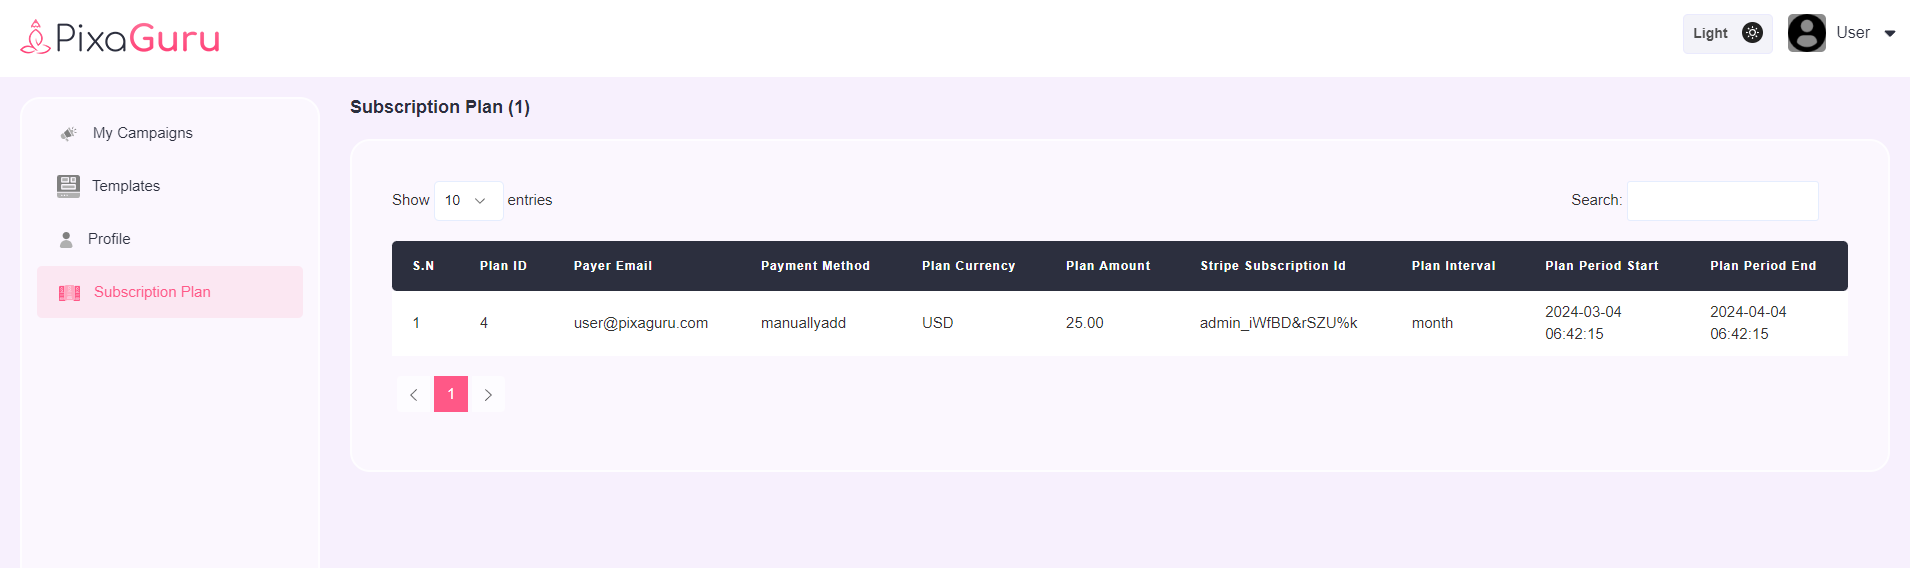
Subscription Plan
In this setting, user will see the details of the subscribed plans.
Change Log
See what's new added, changed, fixed, improved or updated in the latest versions.
Note Please take the backup of existing script before updating.
Version v1.10.1 Date 11/03/2025
- Fixed Minor Issues
Version v1.10 Date 28/11/2024
- Added Two new Payment Gateways Razorpay & Paystack
- Added new subscription option(number of pre added templates & number of templates allow to create)
- Added site color option
- Support Upgraded PHP Version
- Fixed minor/major issues
Version v1.9.1 Date 13/03/2024
- Fixed Minor Issues
Version v1.9.0 Date 07/03/2024
- Added Image background Remove option
- Added multi language (English, Arabic, French)
- Added Template importer option
- Added Rest API option
- Added option to add payment gateway details in admin dashboard
- Added Free plan user subscribe option
- Added option to put Site Title in admin dashboard
- Fixed minor/major issues of the editor
Version v1.8.2 Date 06/12/2023
- Fixed Minor Bugs
Version v1.8.1 Date 28/11/2023
- Fixed Minor Bugs
Version v1.8 Date 23/11/2023
- Added PayPal payment Method
- Added SMTP option
- Fixed Responsive issues
- Fixed Minor Bugs
Version v1.7 Date 04/10/2023
- Added Google Analytics Option
- Added Grid Option
- Added Youtube thumbnail option
Version v1.6 Date 25/08/2023
- Added Color Overlay Option
- Added Social Share Option
Version v1.5 Date 10/08/2023
- Fixed theme setting issue
- Fixed editor responsive issue
- Fixed editor save template issue
- Fixed editor save template thumnall not show issue
- Fixed profile update issue
- Fixed sql import issue
- Fixed Pricing plan issue fixed
Version v1.4 Date 13/07/2023
- Editor UI Updated
- Added Dark mode
- Added Option To Update Logo And Color Theme
- Embed Code Of Created Image
- Image Crop Option In Any Size & Ratio
- AI Text Generator
- Update Color Picker
Version v1.3 Date 27/06/2023
- New Templates added
- Major/minor issues are fixed
Version v1.2 Date 08/06/2023
- Added Layer Panel
- Integrated OpenAI API and background images option
Version v1.1 Date 02/06/2023
- Enhanced Color options
- Optimized Fonts and loader performance
- Enhance overall functionality
Version v1.0 Date 01/06/2023
- Initial Release
Help And Support
In order to receive a technical support assistance, you need to have a valid purchase code. To get the code, please navigate to your Codecanyon "Downloads" page and click on the plugin download link.
After getting the Purchase code, please follow the steps mentioned on the link click Here to get your product verified. And then share your Purchase code and token ID with the support team.
If you have any questions that are beyond the reach of this help file, feel free to contact us. We will respond as soon as possible (within 24 - 48 hours, usually faster). We are open from 9:30am to 6:30pm (IST), from Monday till Friday.
NOTE: As authors of this script we do provide support only for the script-related features.
Outro
Thank you for your purchase. If you have any questions that are beyond the scope of this help file, please contact us through support@pixelnx.com
Once again, thank you so much for purchasing this script. As I said at the beginning, I'd be glad to help you if you have any questions relating to this script. No guarantees, but I'll do my best to assist. If you have a more general question relating to the script, you might consider visiting the forums and asking your question in the "Item Discussion" section.